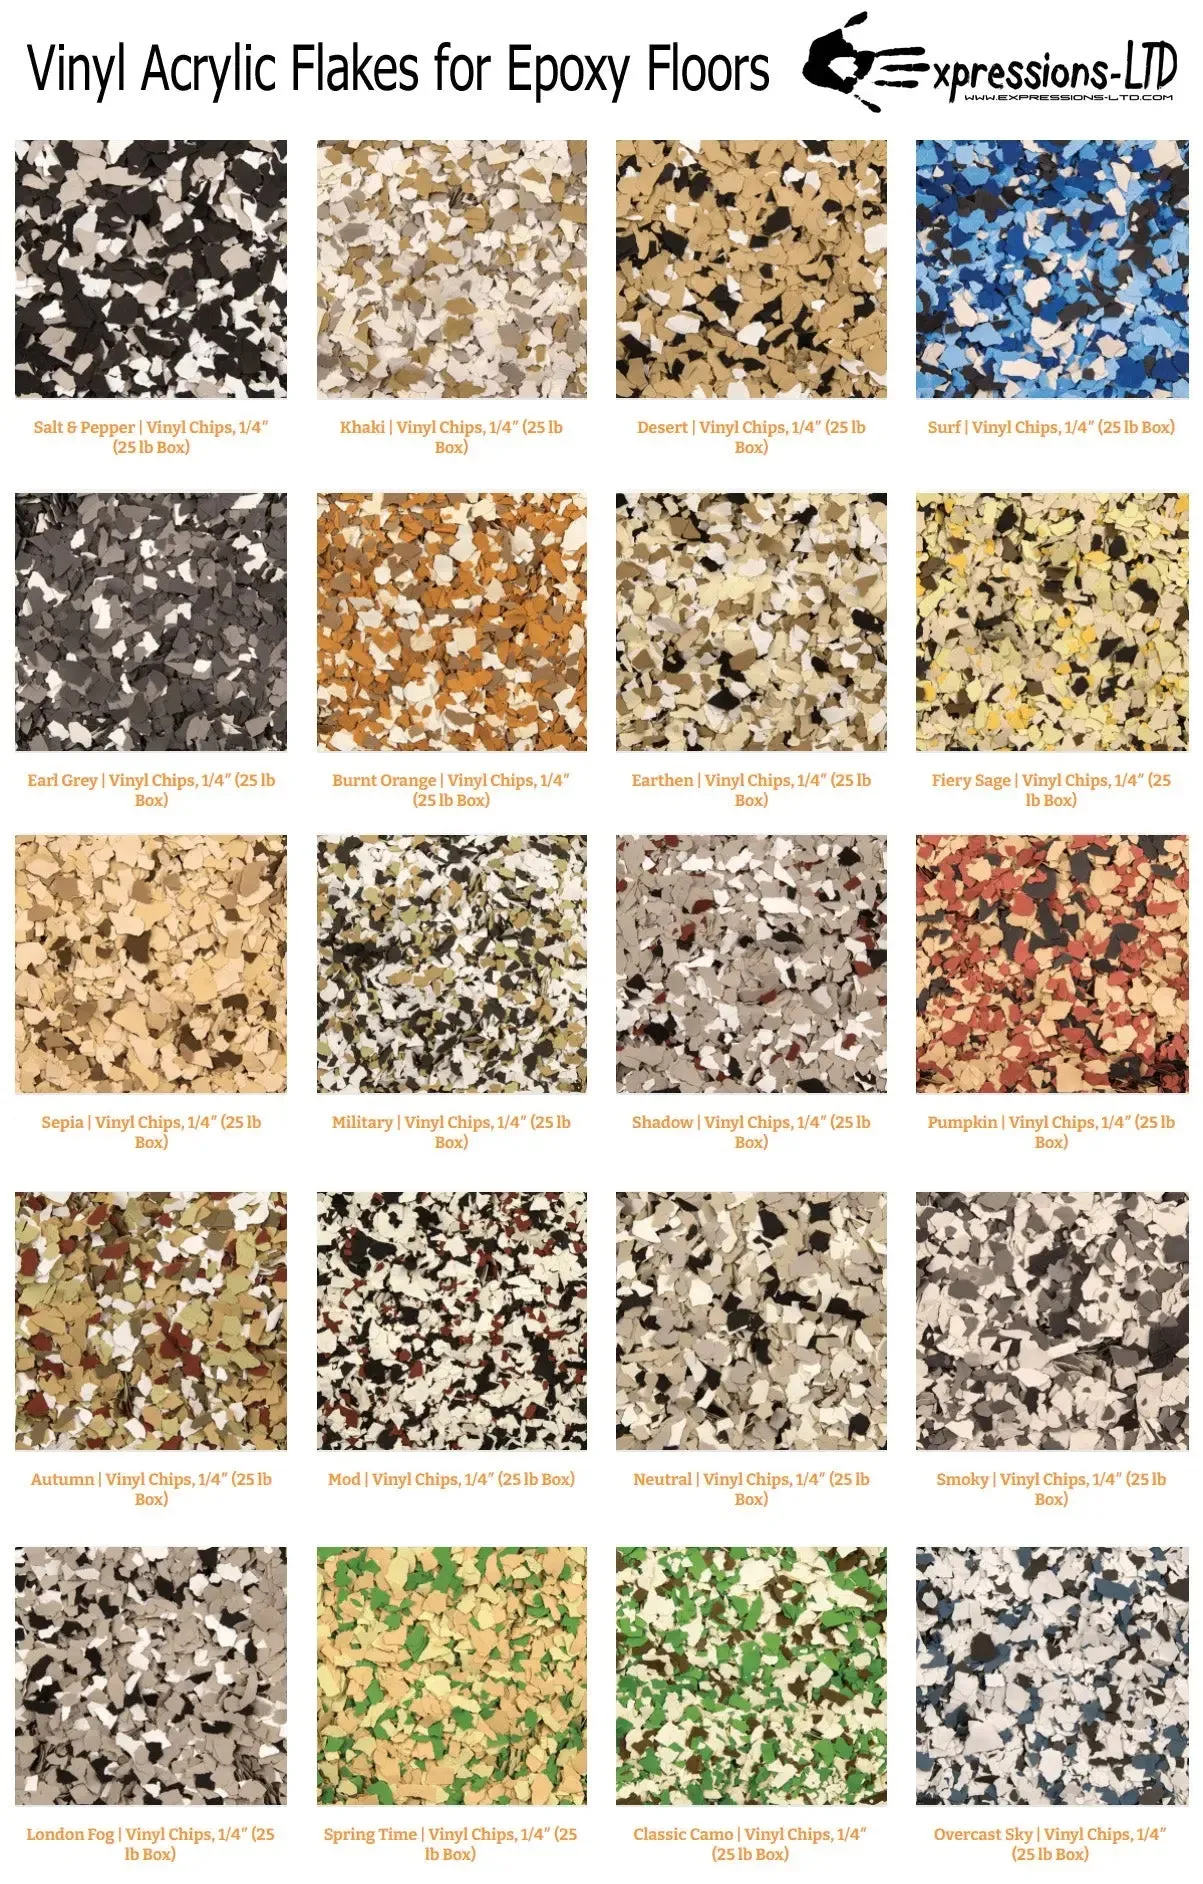
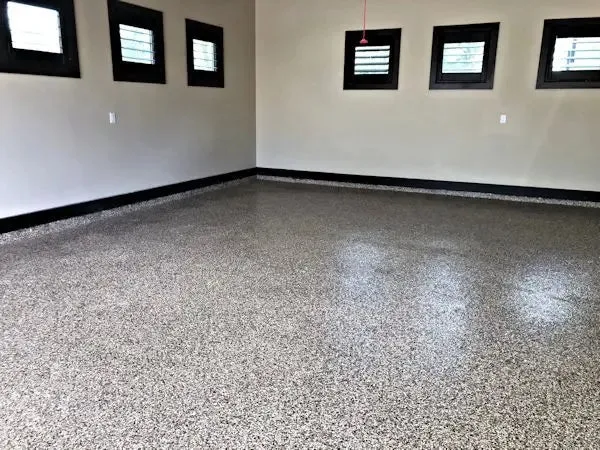
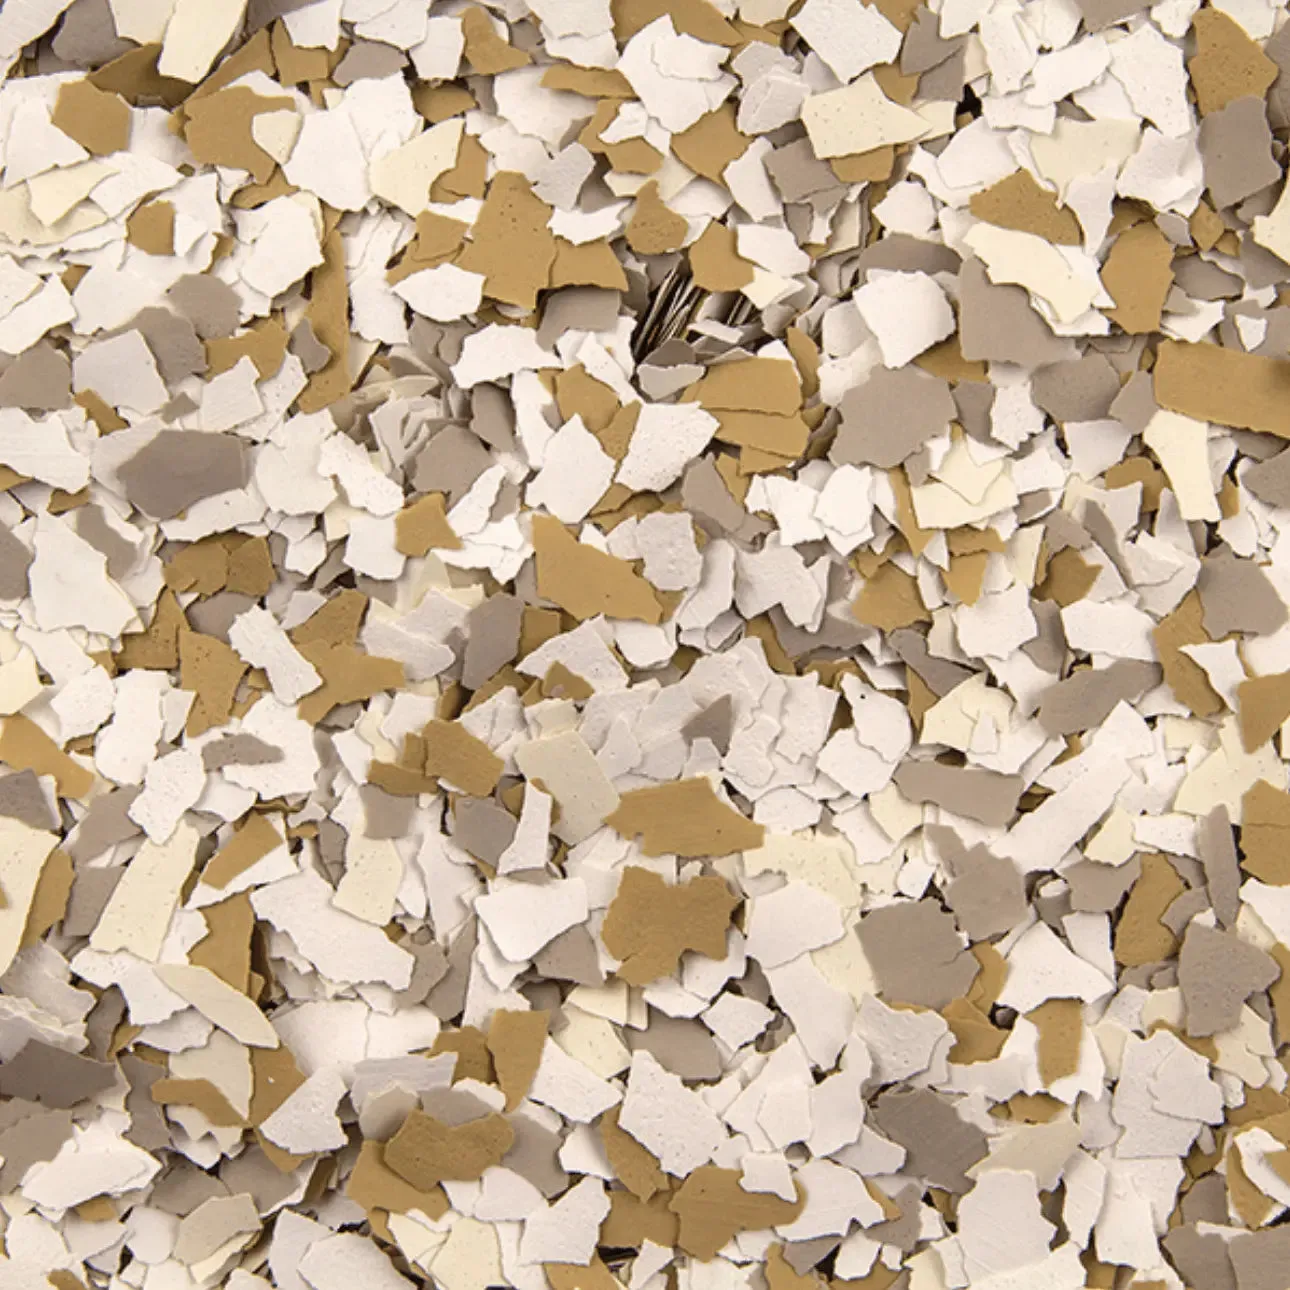
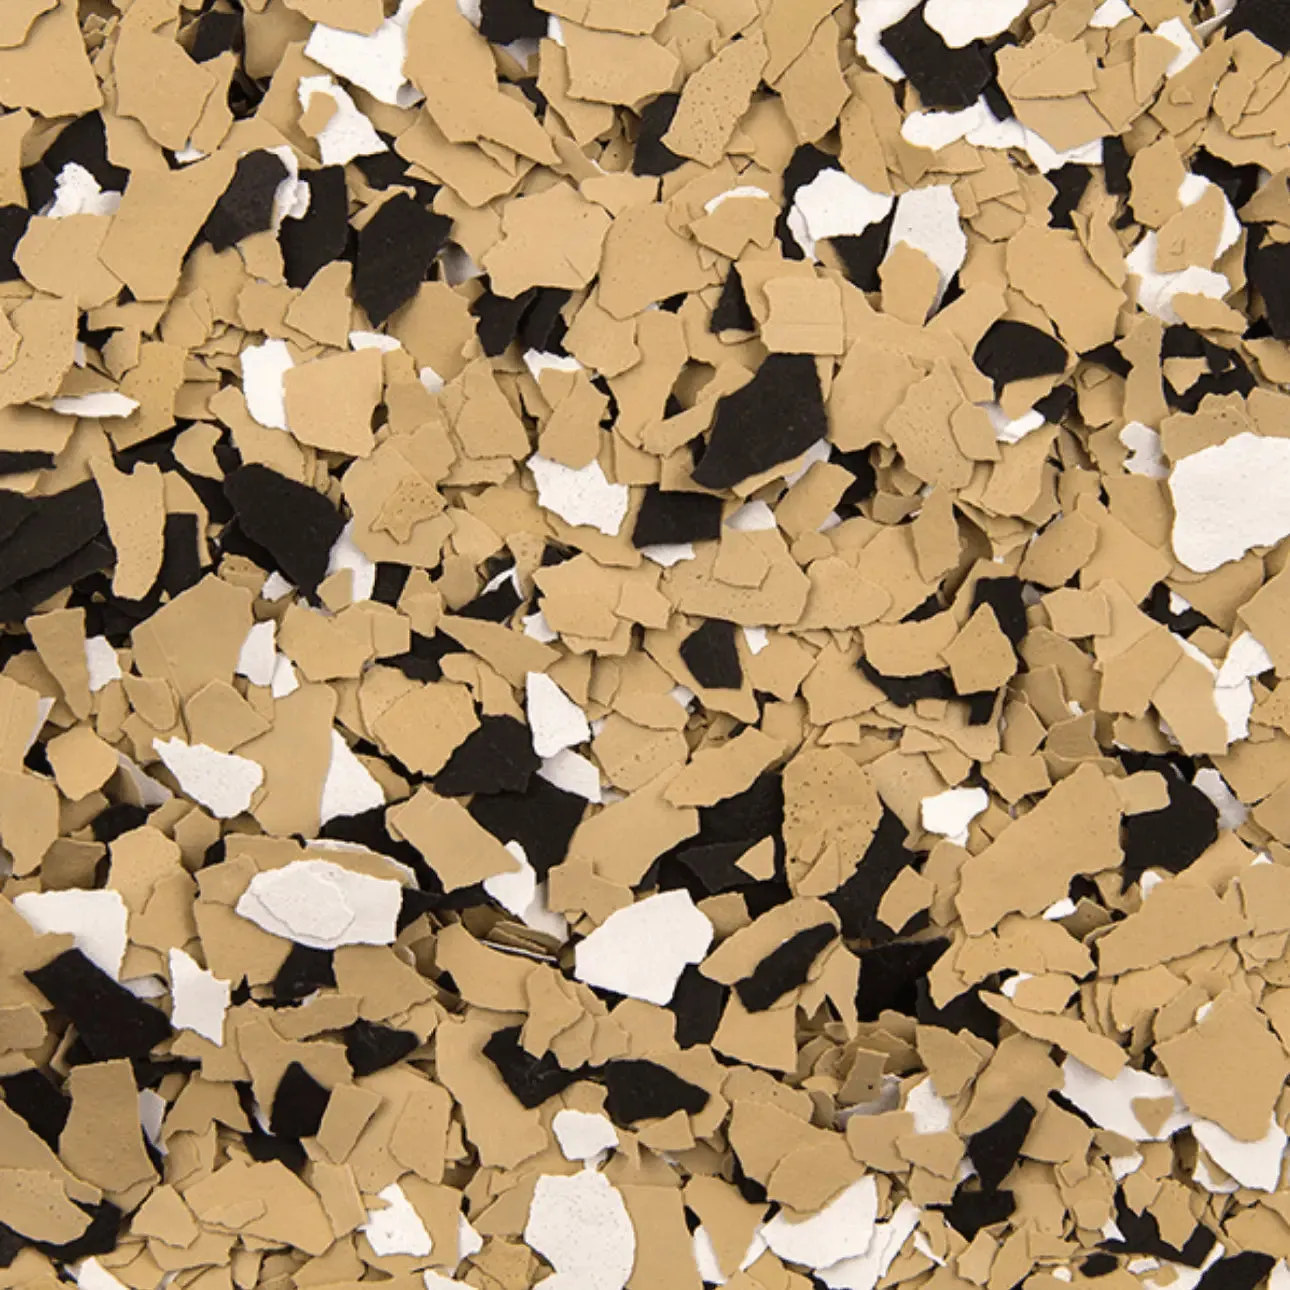
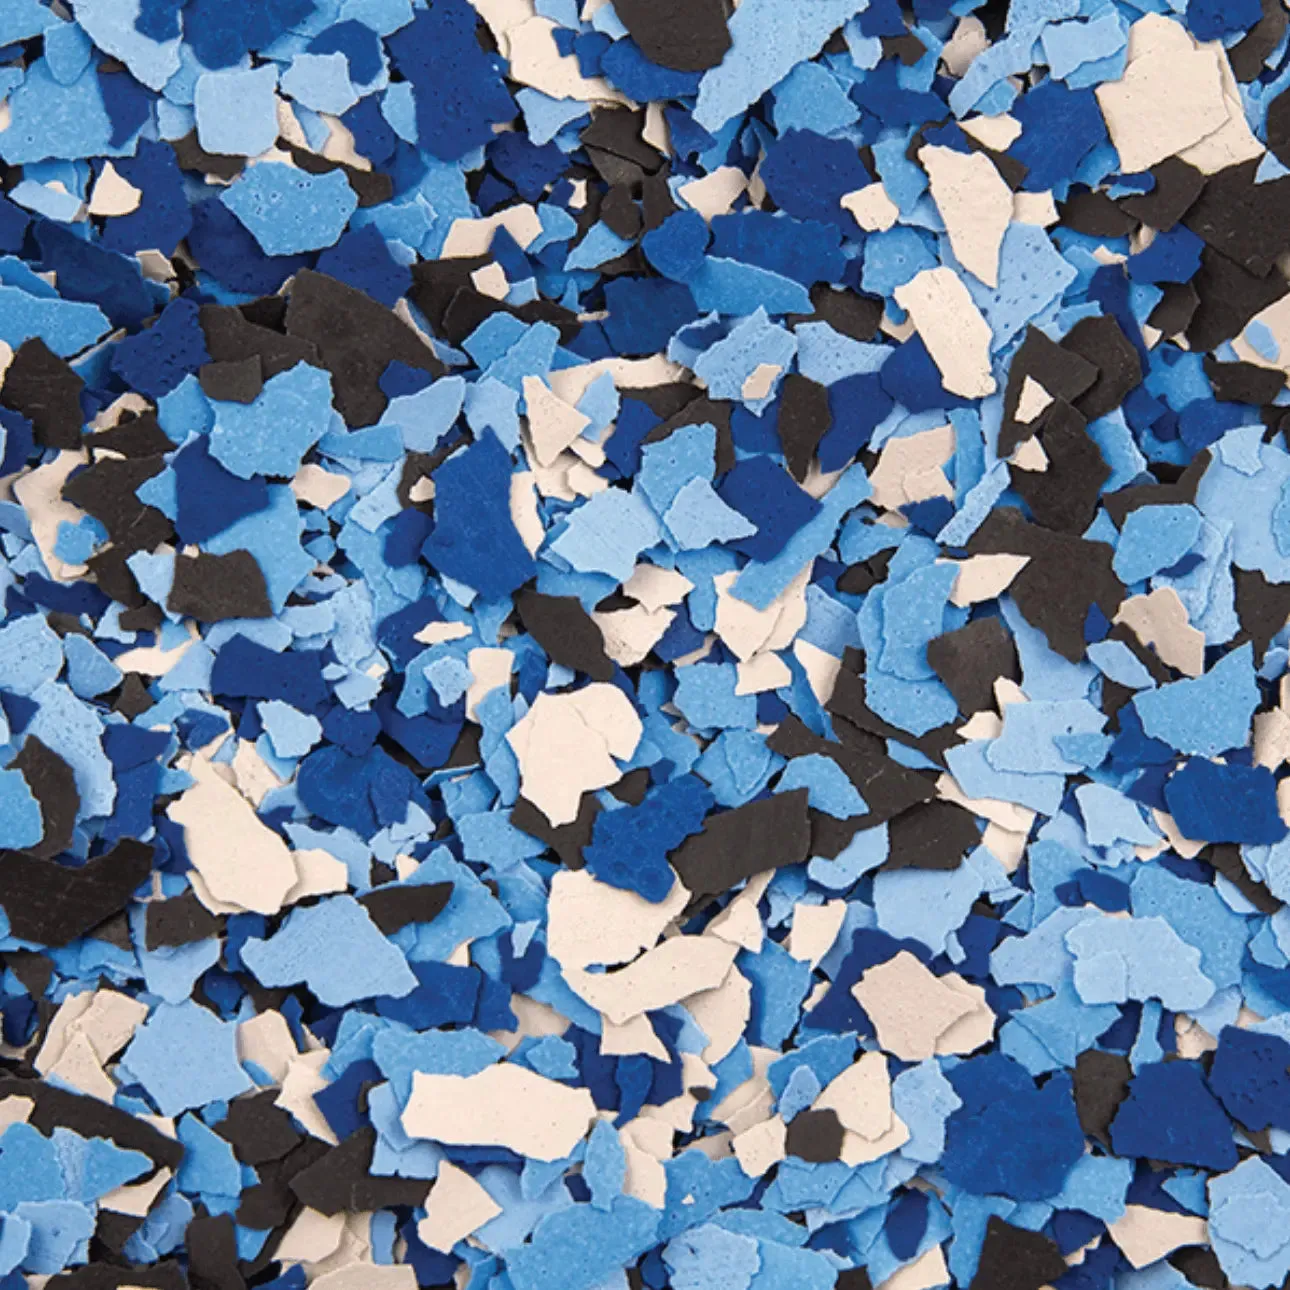
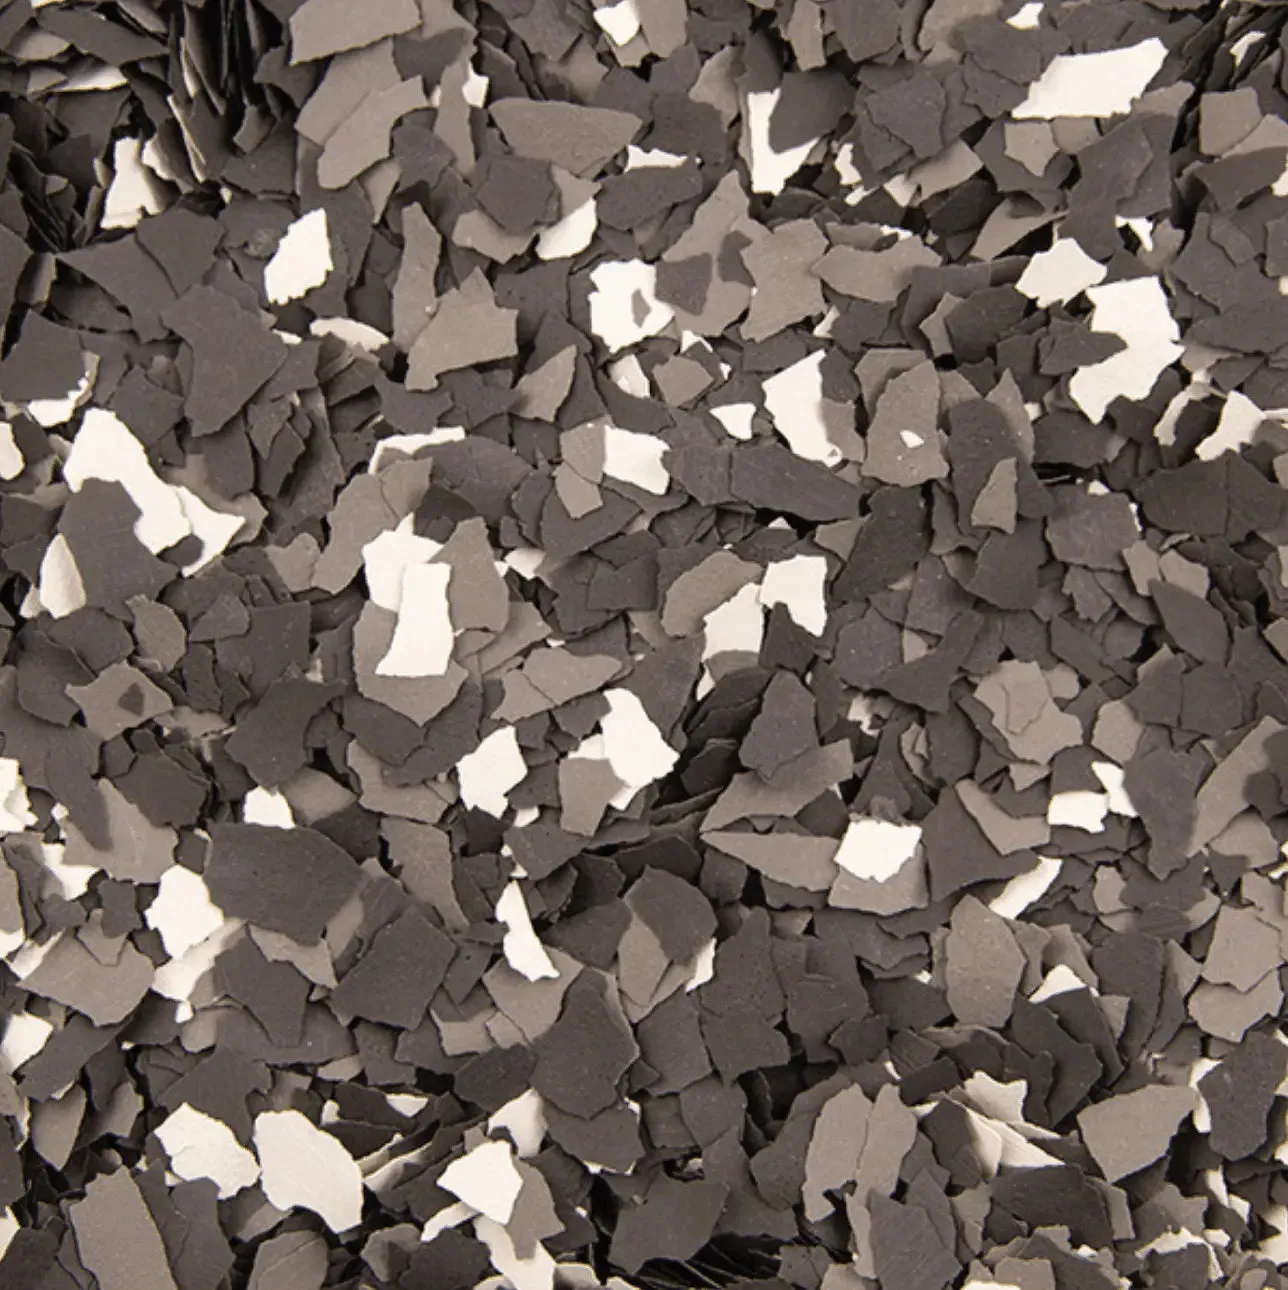
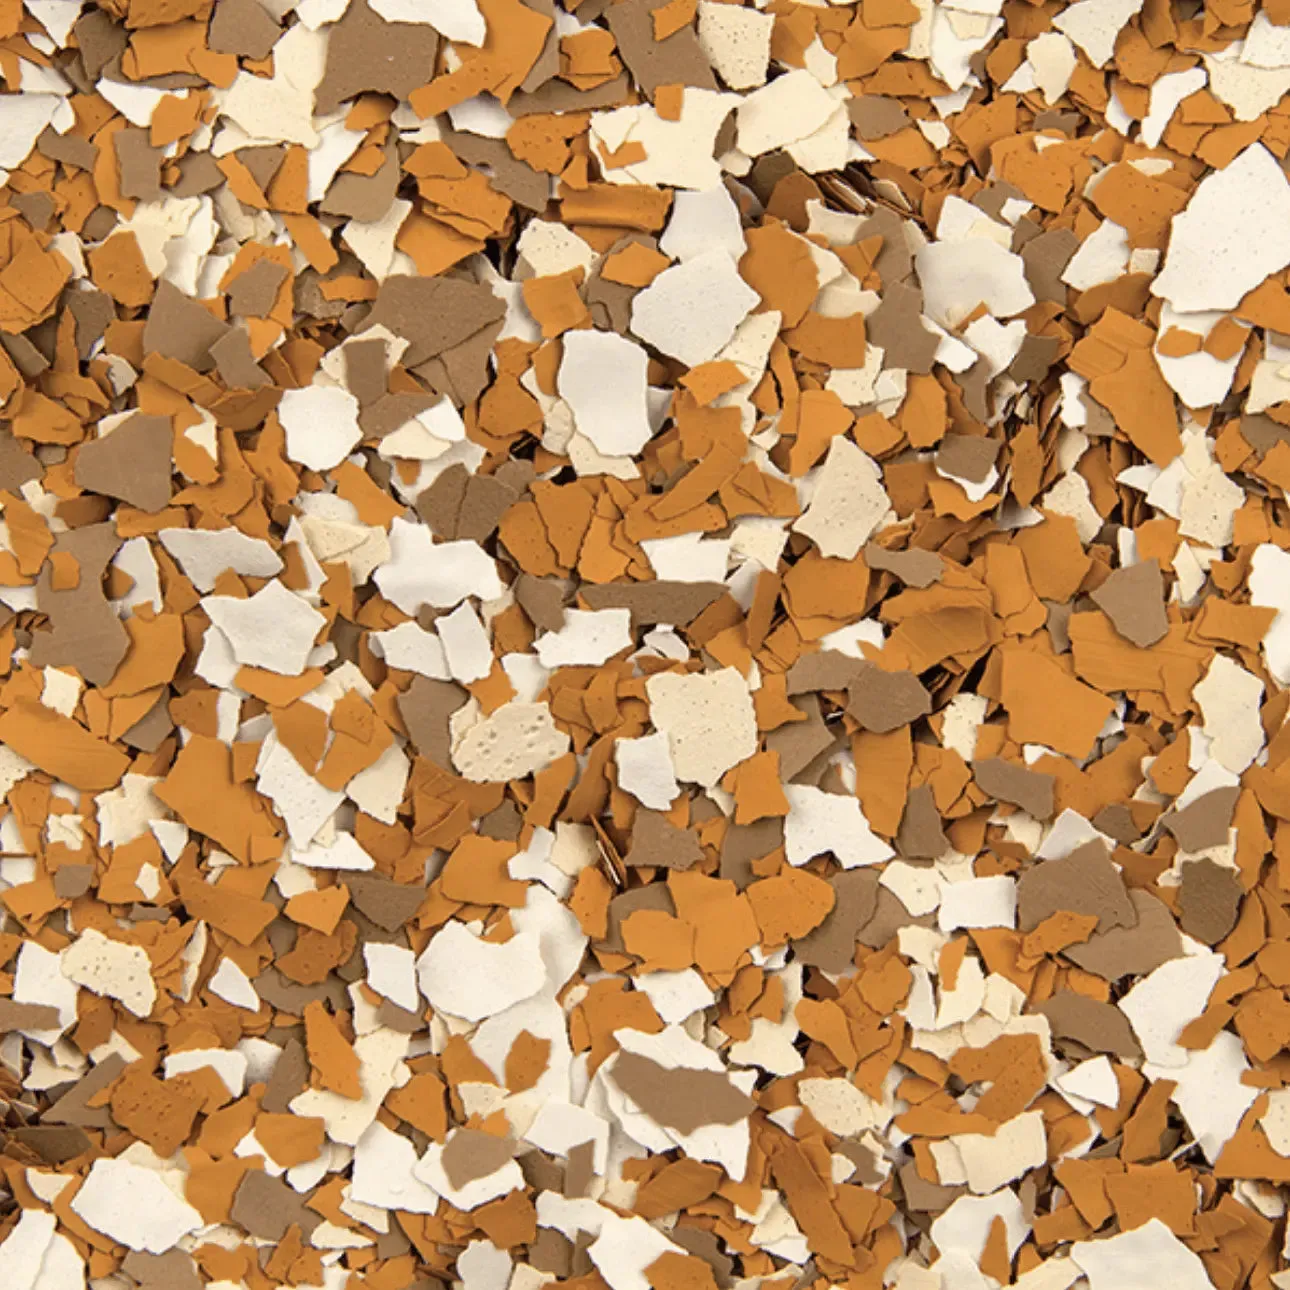
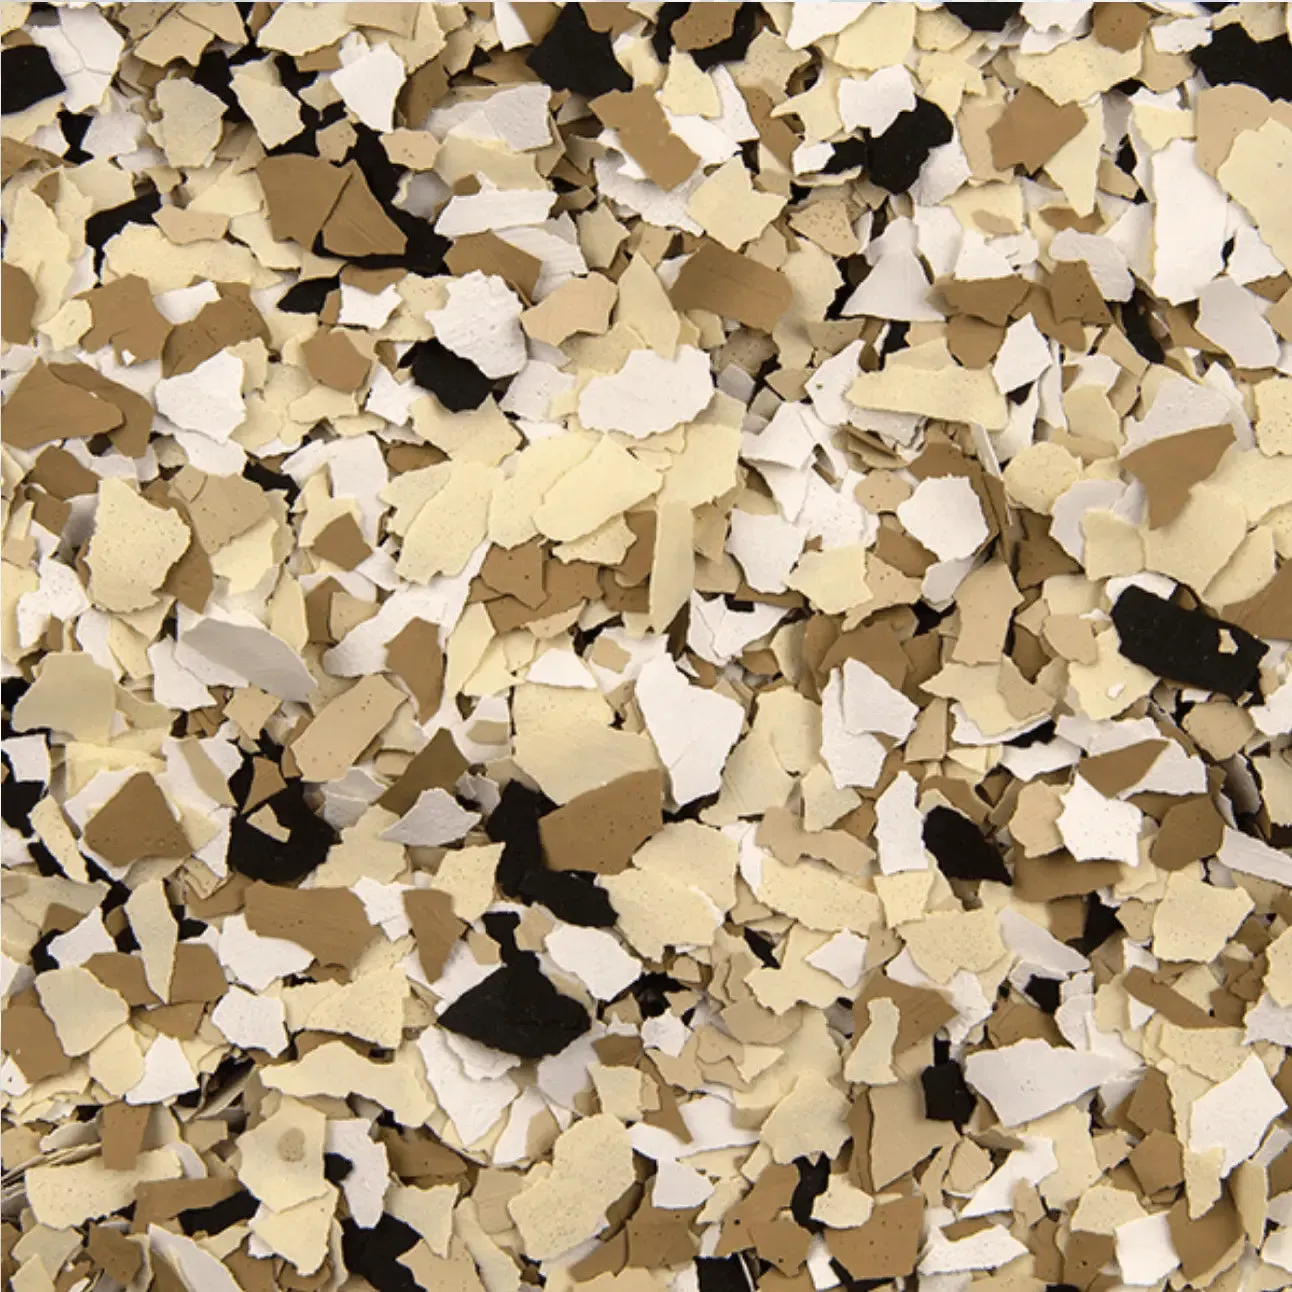
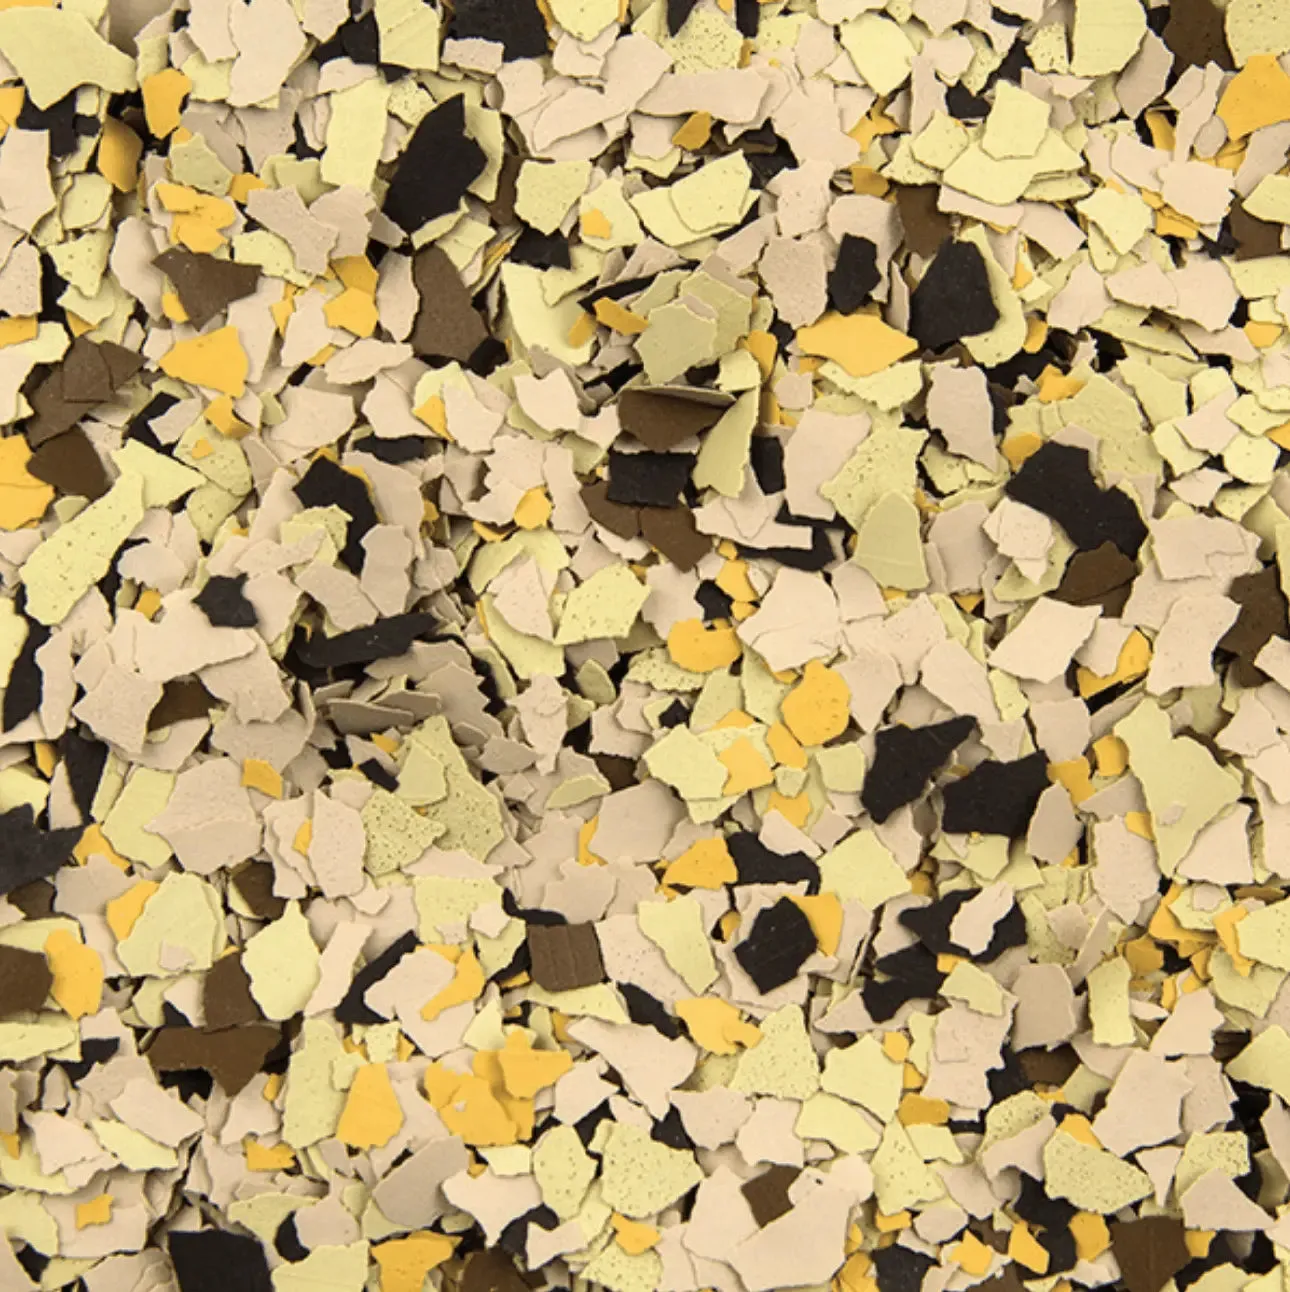
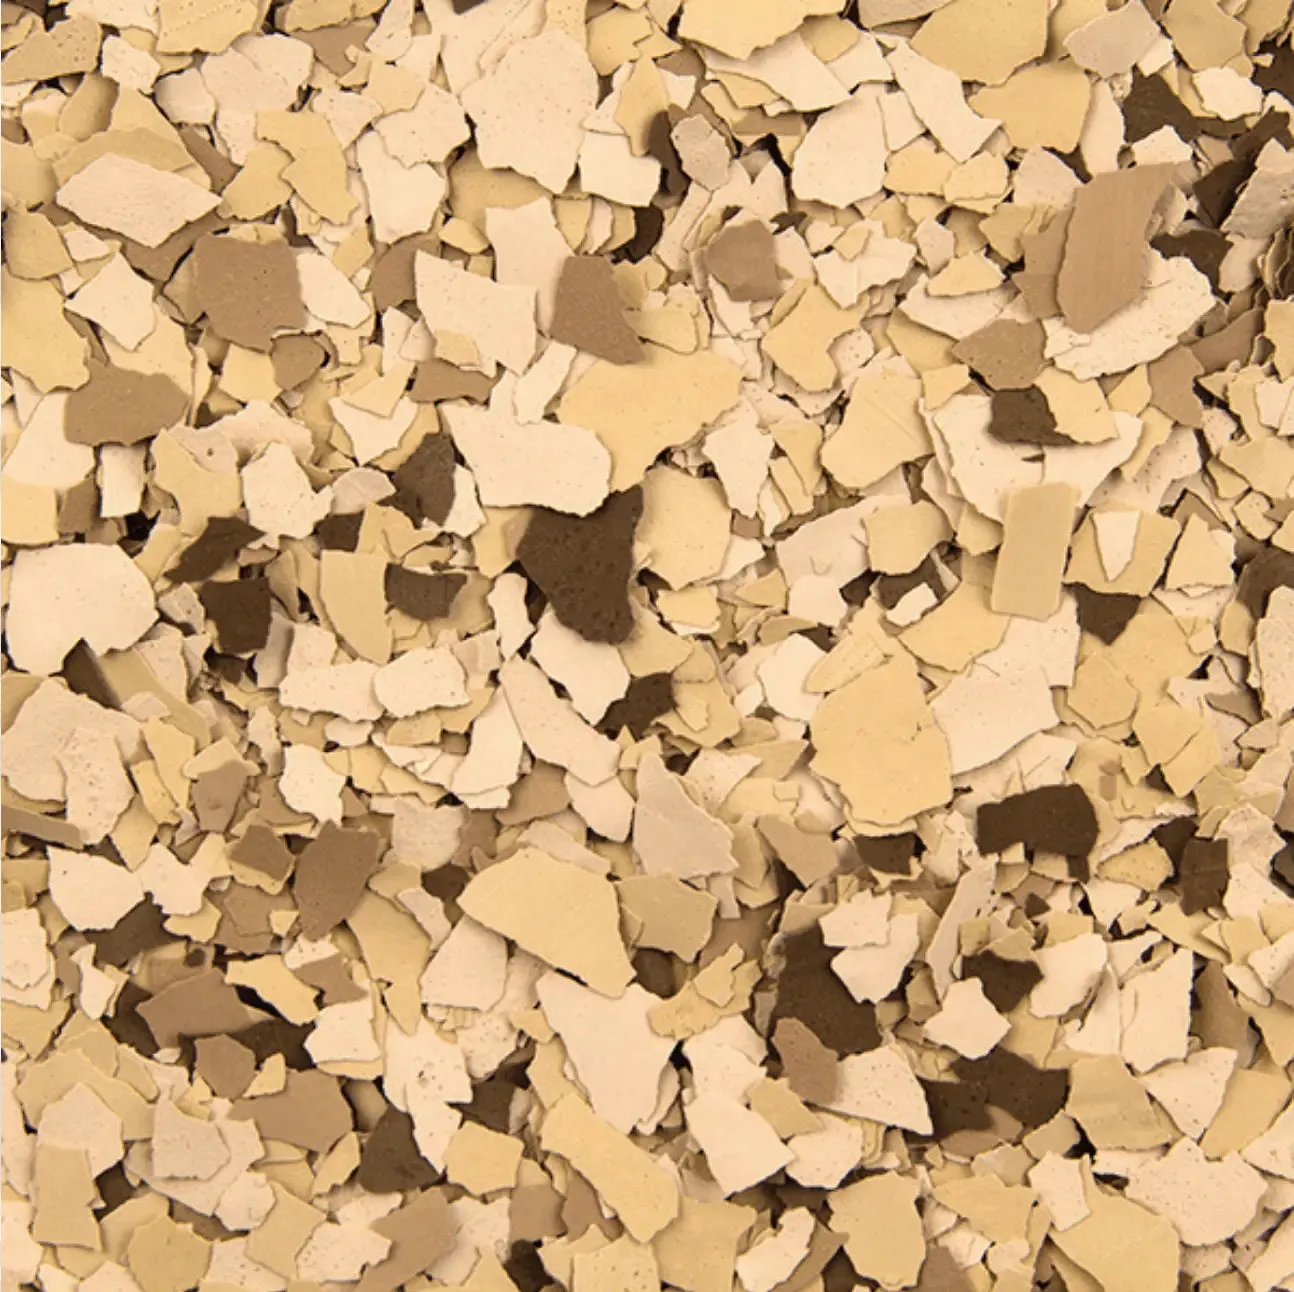
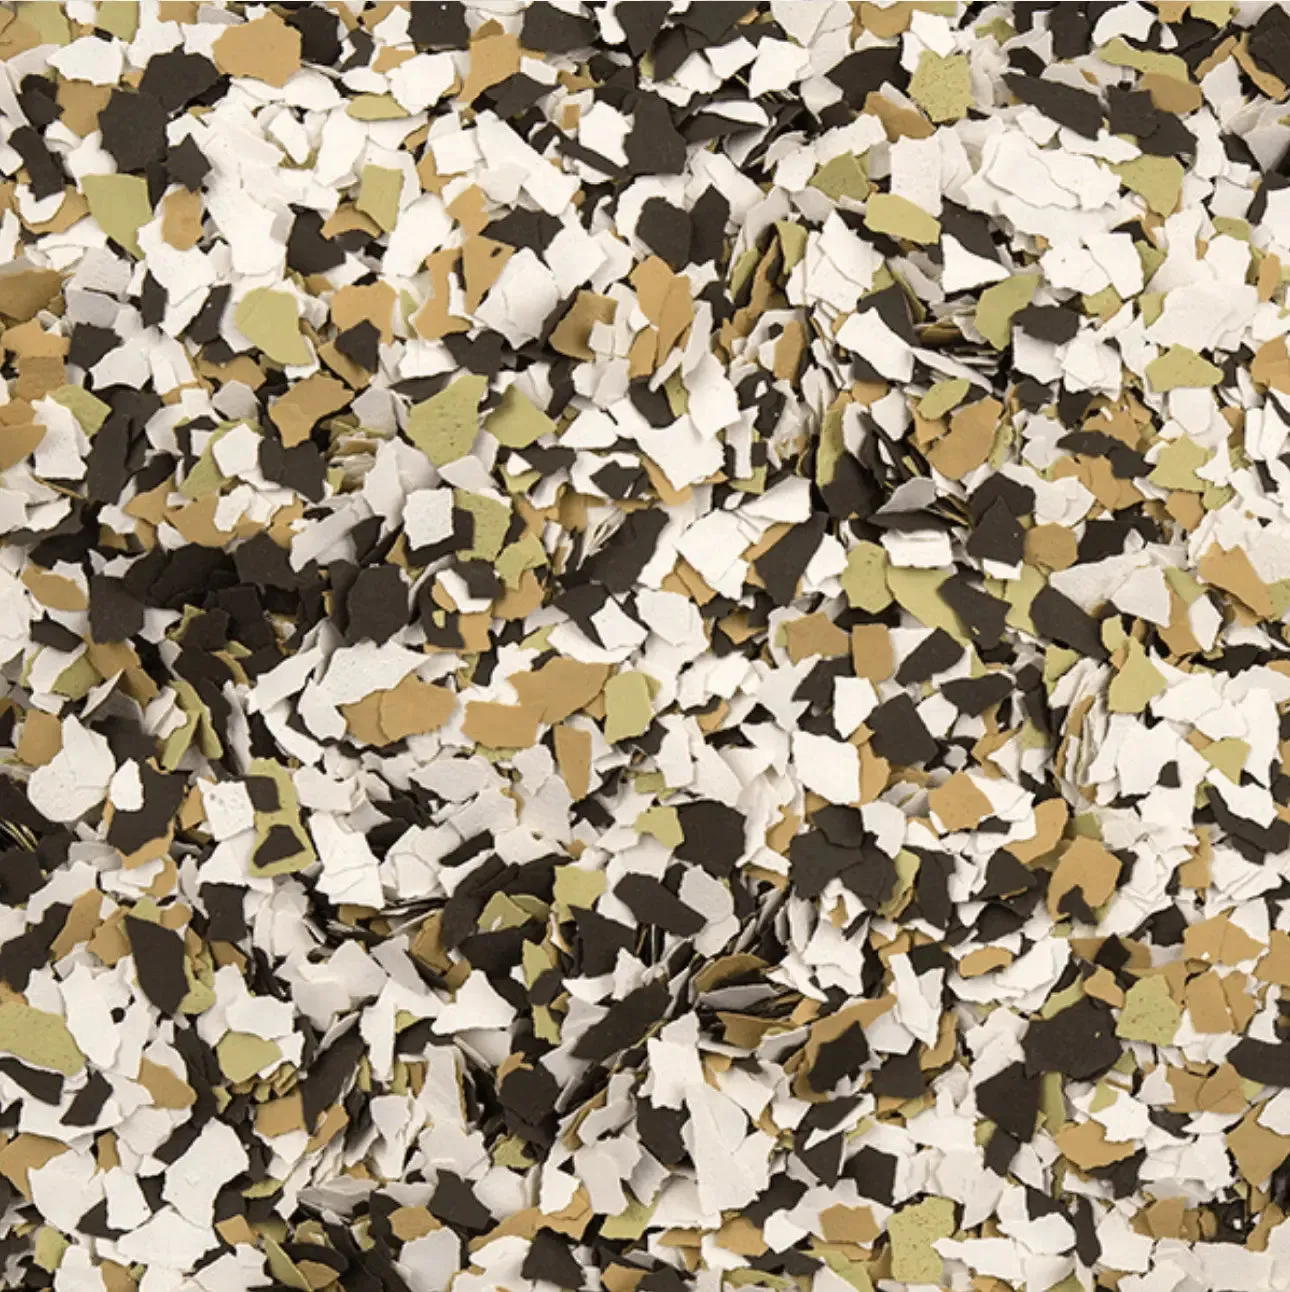
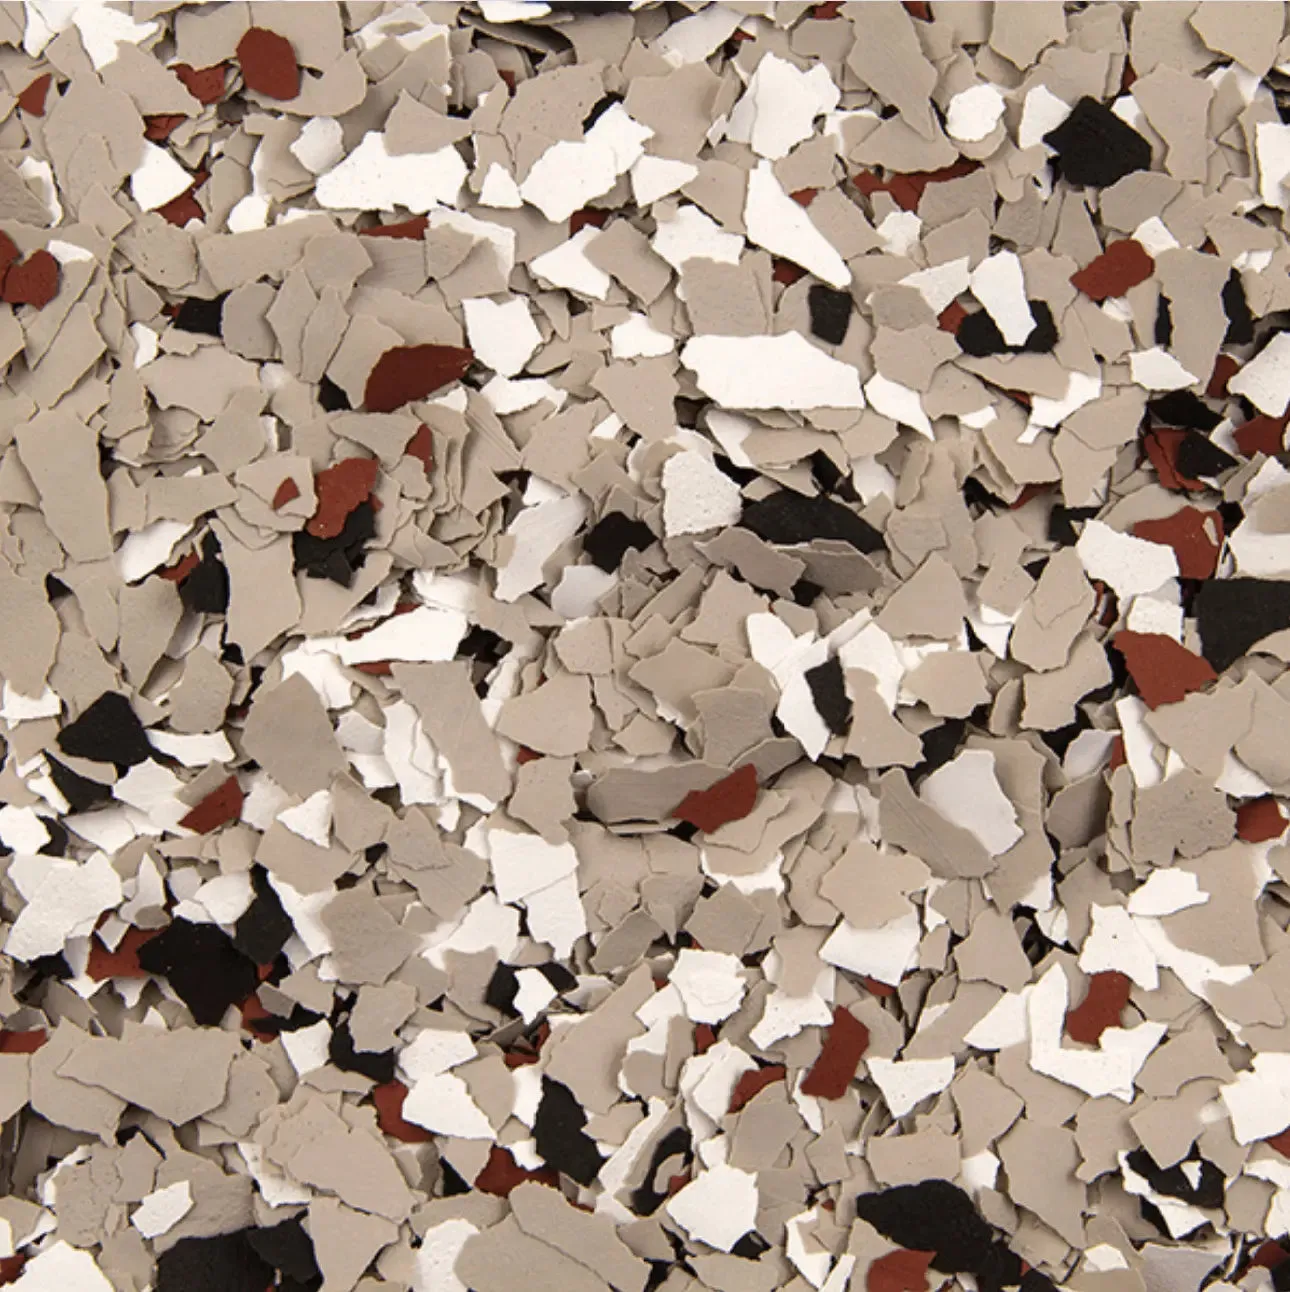
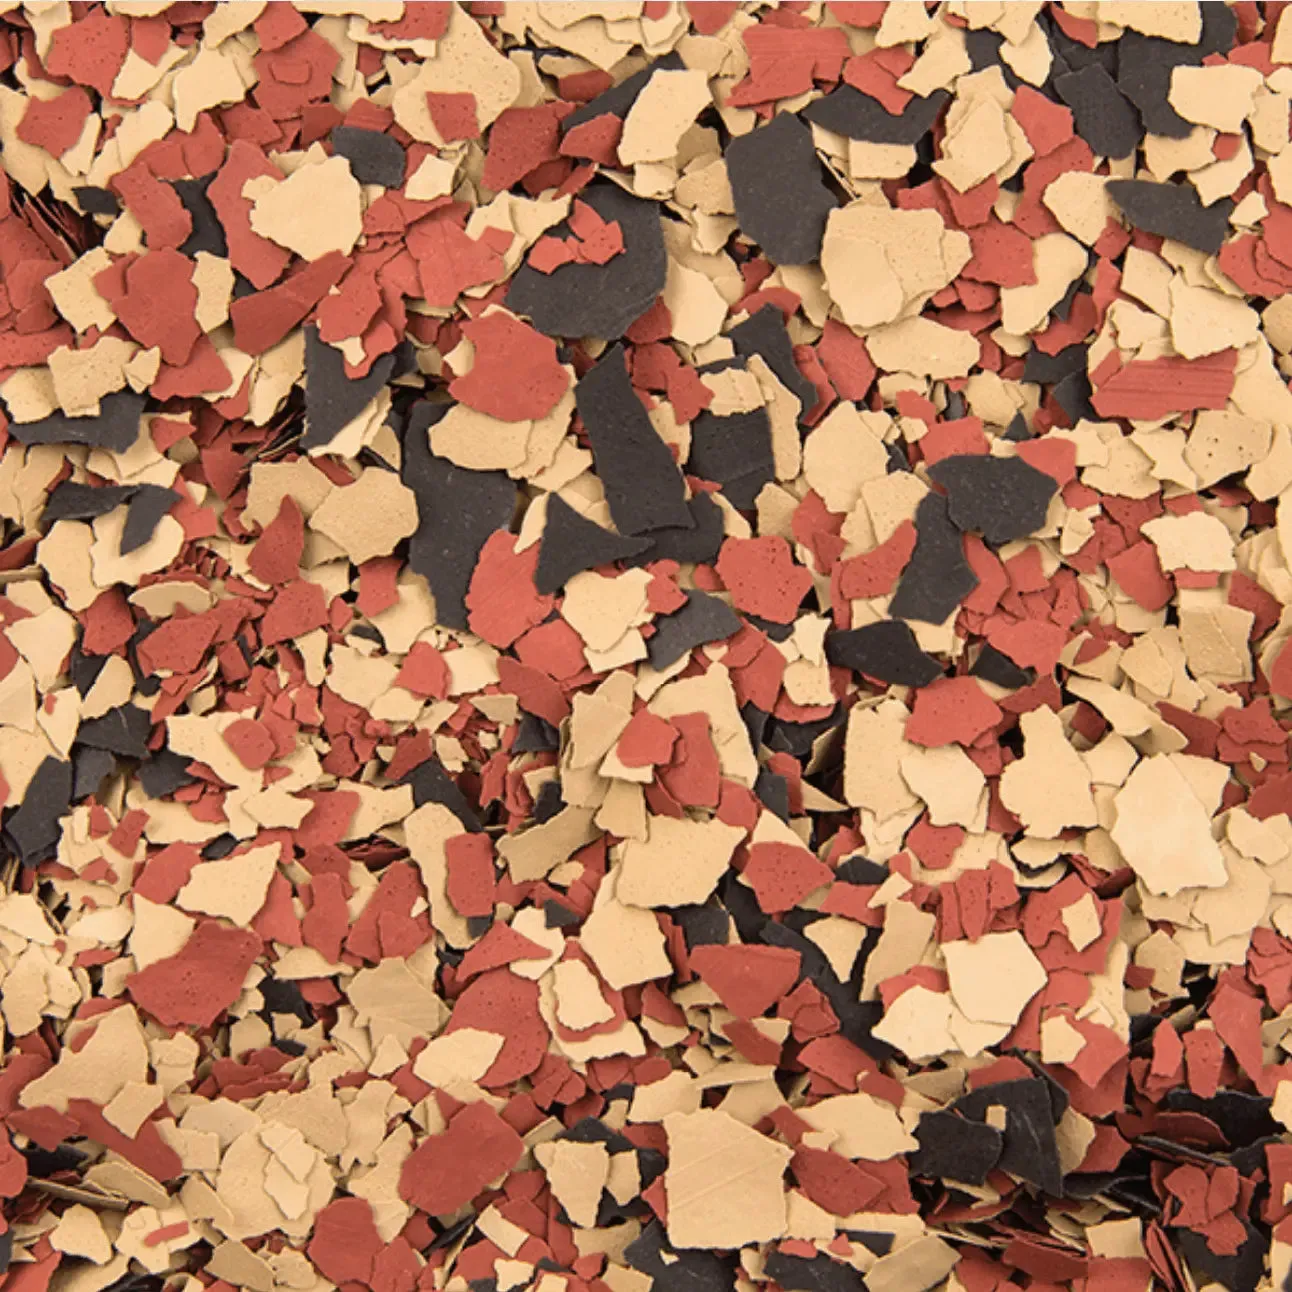
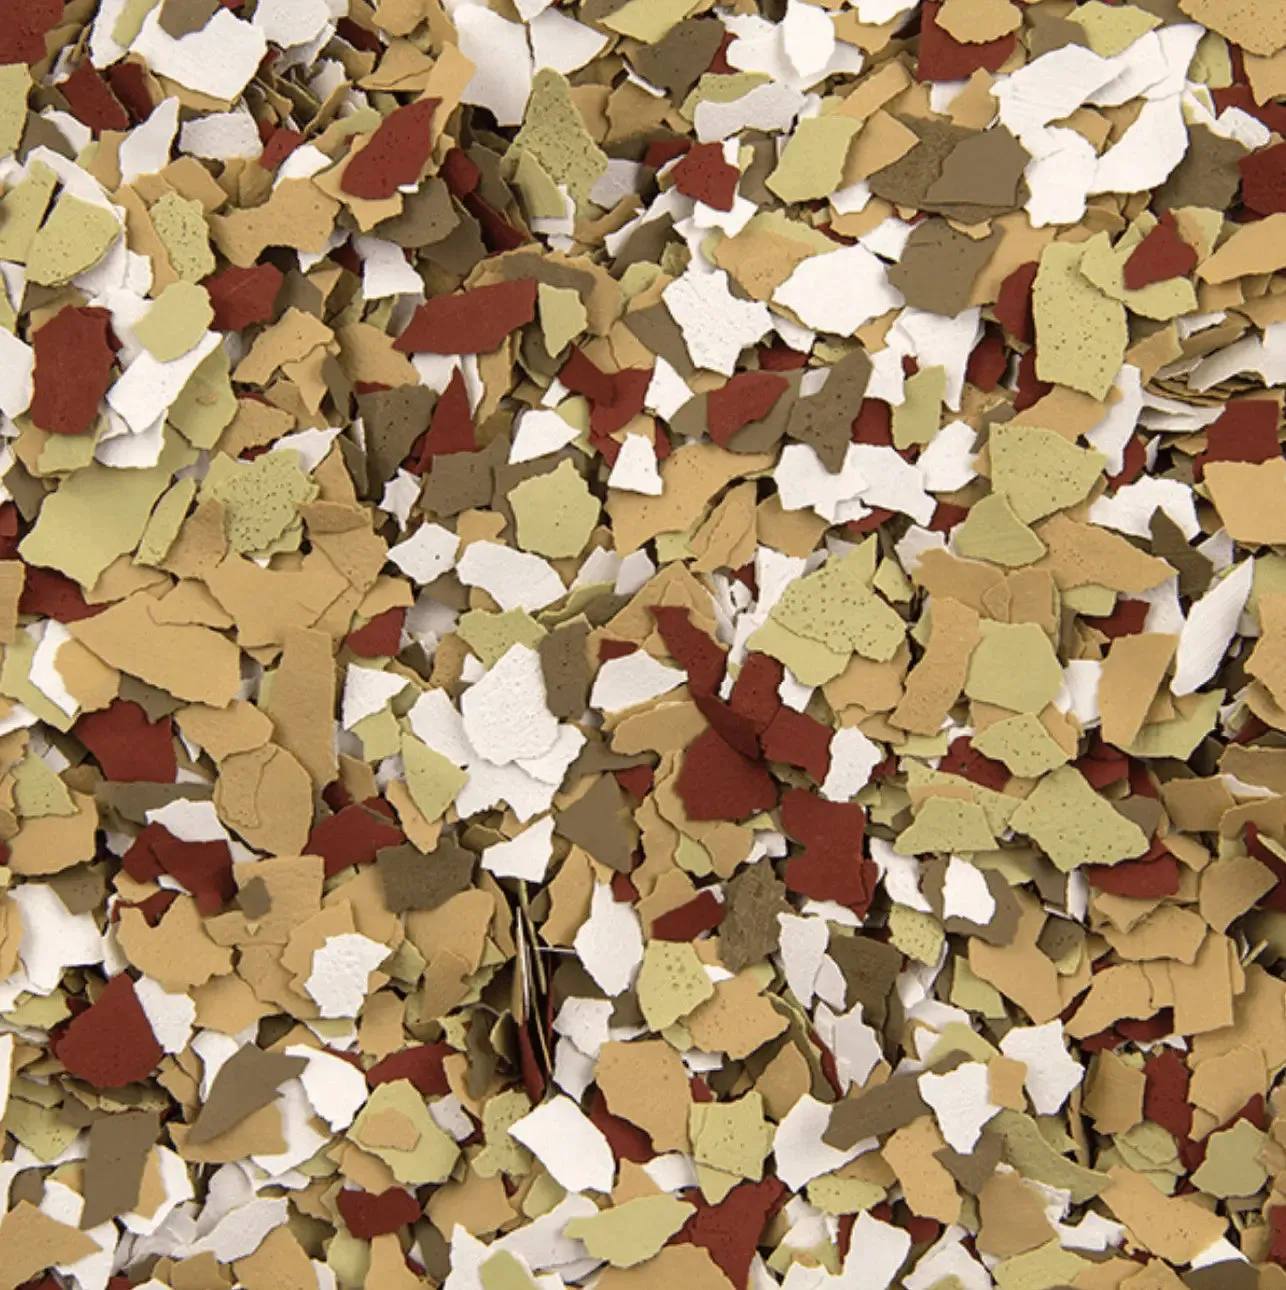
Using decorative vinyl flake is a multi-step process. Installers will vary the steps depending on the particular situation but in general are as follows.
Step 1:
This is the most critical step as with most decorative concrete projects. All substrates must be properly prepared. They must be clean and free from any contaminates that may inhibit the adhesion of the resins. Concrete must be cured for a minimum of 30 days and be free of any internal moisture. Slab should be profiled to a minimum CSP-2 to CSP-3 via shot blasting or grinding. All cracks and defects should be repaired and profiled to match the main surface. Have the room between 60 and 75 degrees if possible.
Step 2:
Apply a primer/base coat of 100% solids epoxy primer like Essential Primer. This can be clear or tinted. If the prepared floor is extremely porous or shows much surface defect, you should consider applying a pure primer coat before your initial broadcast coat. This will insure maximum adhesion to the prepared substrate. Priming will also help to seal air in the concrete to prevent outgassing in the finished surface. Mix separately both A and B parts of the resins material to ensure to separation has occurred. Make sure material has been brought to room temperature as well. For application, mix 2 parts A with 1 part B by volume with a low sped mixer for three minutes. Mix only an amount of material that can be spread in 30 minutes. Once mixed, immediately begin pouring the material onto the floor in long, usable ribbons. Do not let mixed material sit in the mixing container longer than 5 minutes or it may begin to gel and need to be thrown out. Spread the material with a notched squeegee (1/8 inch at most) until all is even and then backroll with a proper roller to remove any squeegee lines. For a primer coat, you want coverage of approximately 200-300 sq ft per gallon. Let sit for 6 to 24 hrs before proceeding to the next step. Walk on floor only using .
Step 3:
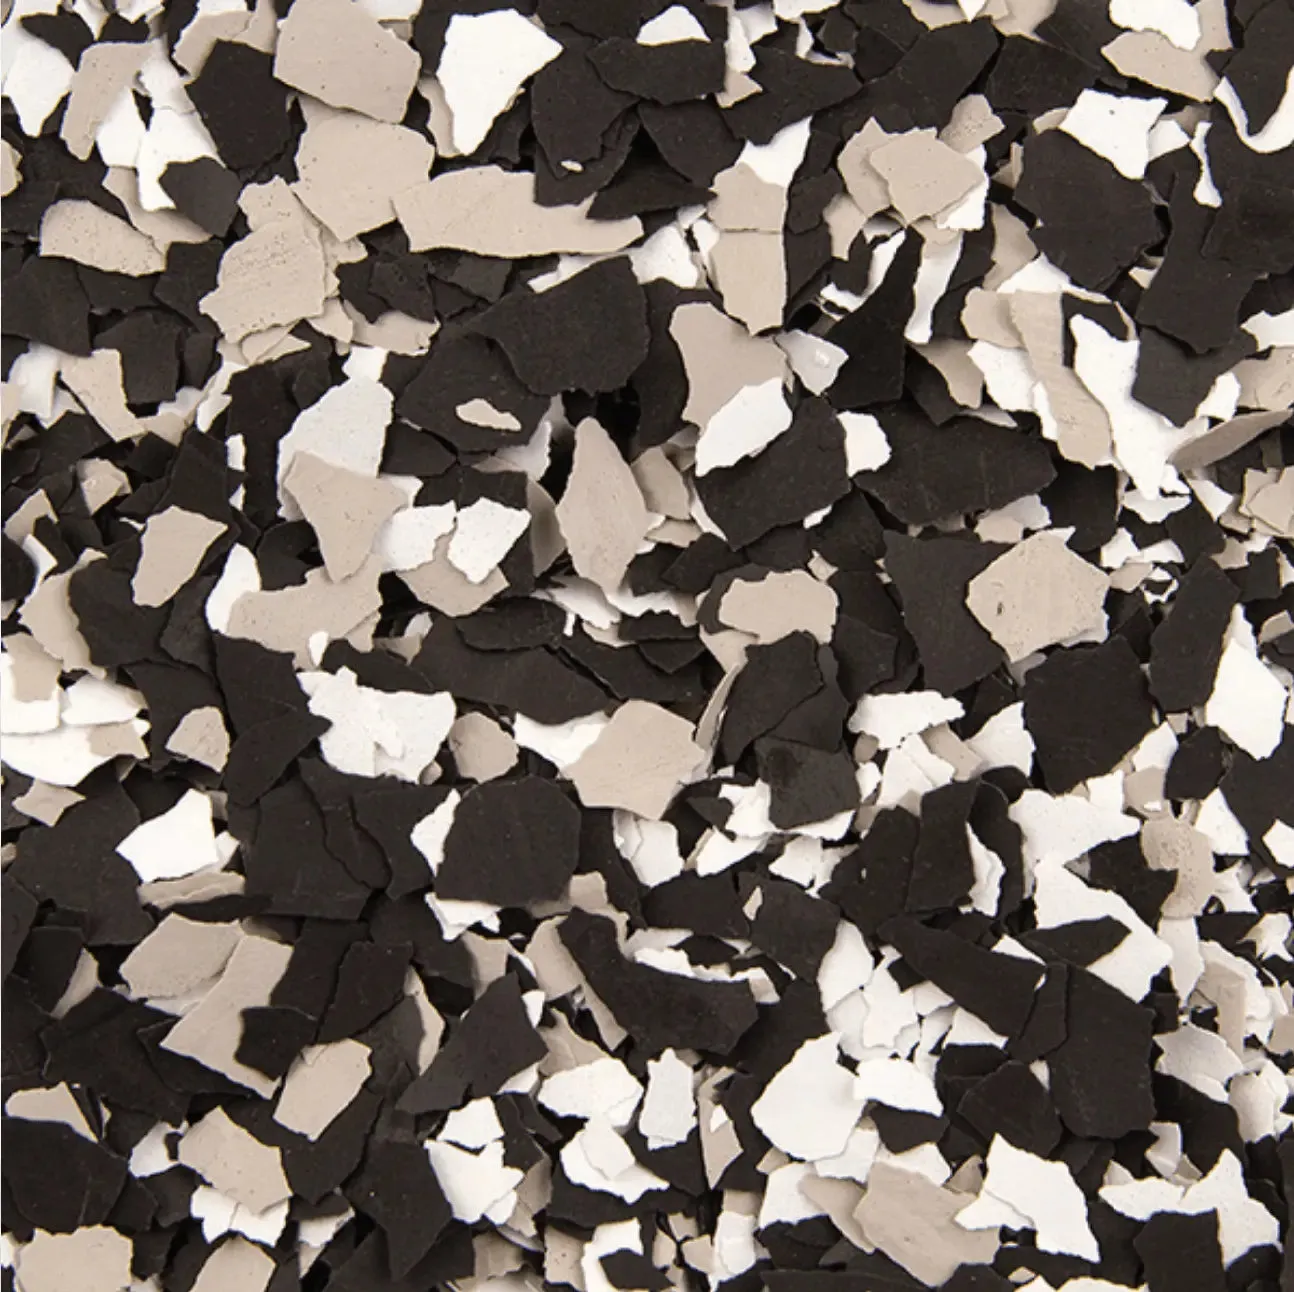
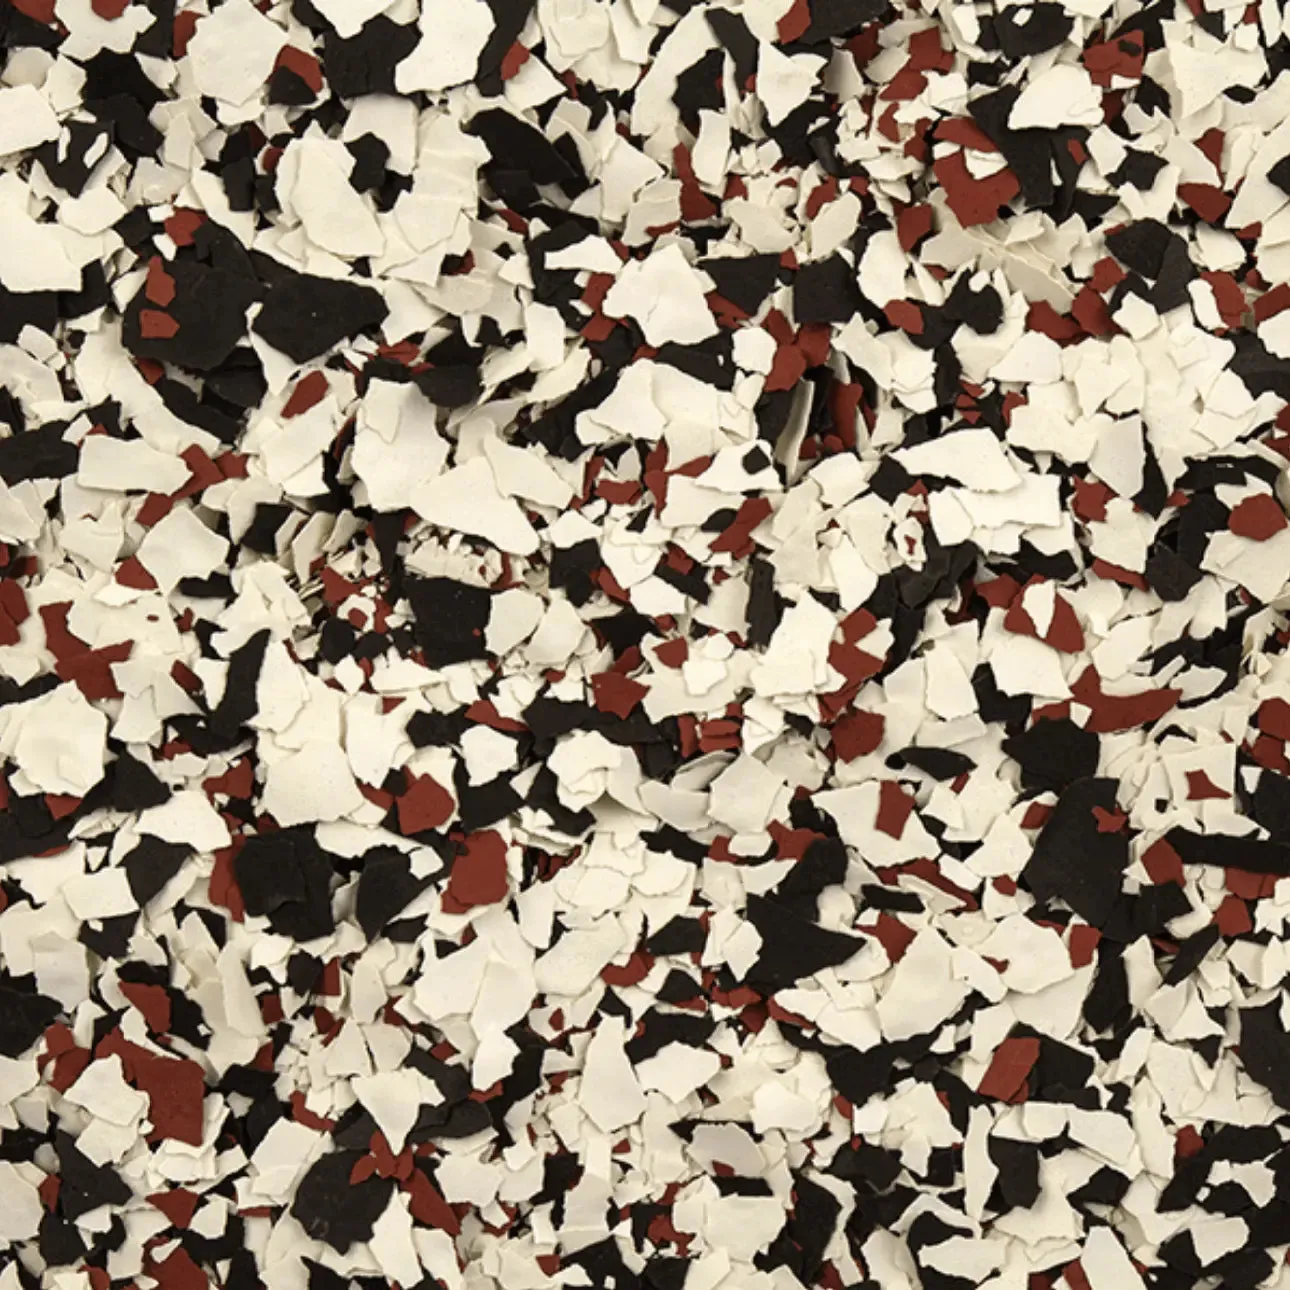
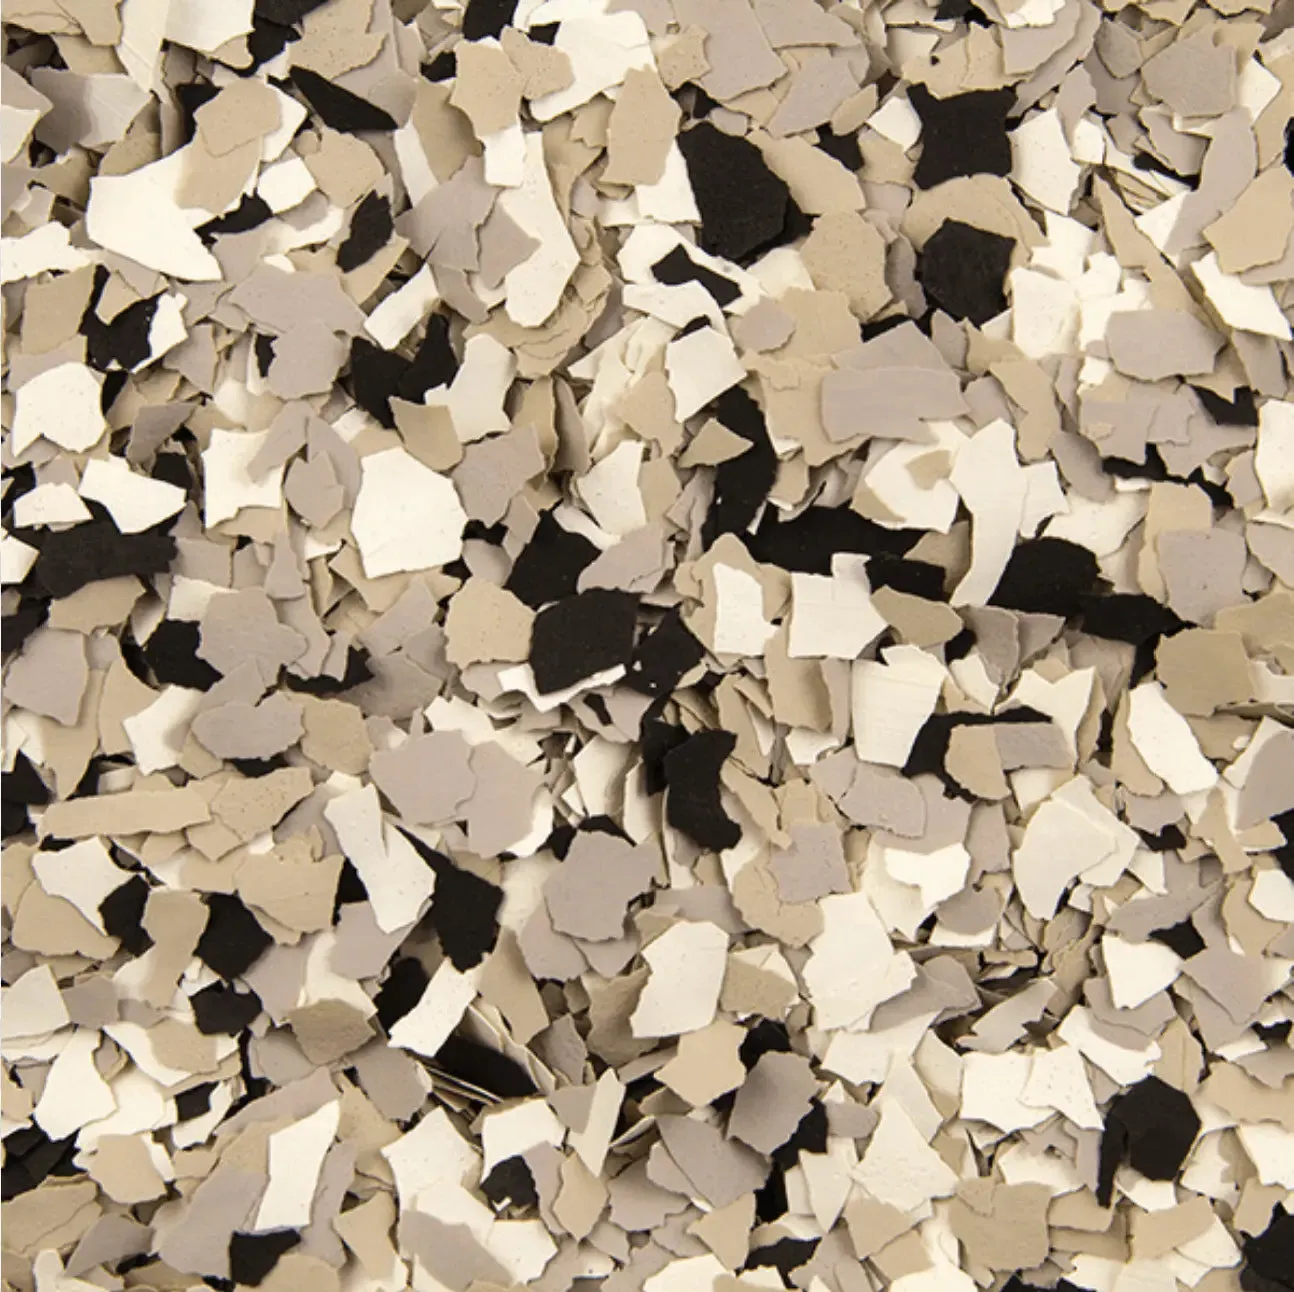
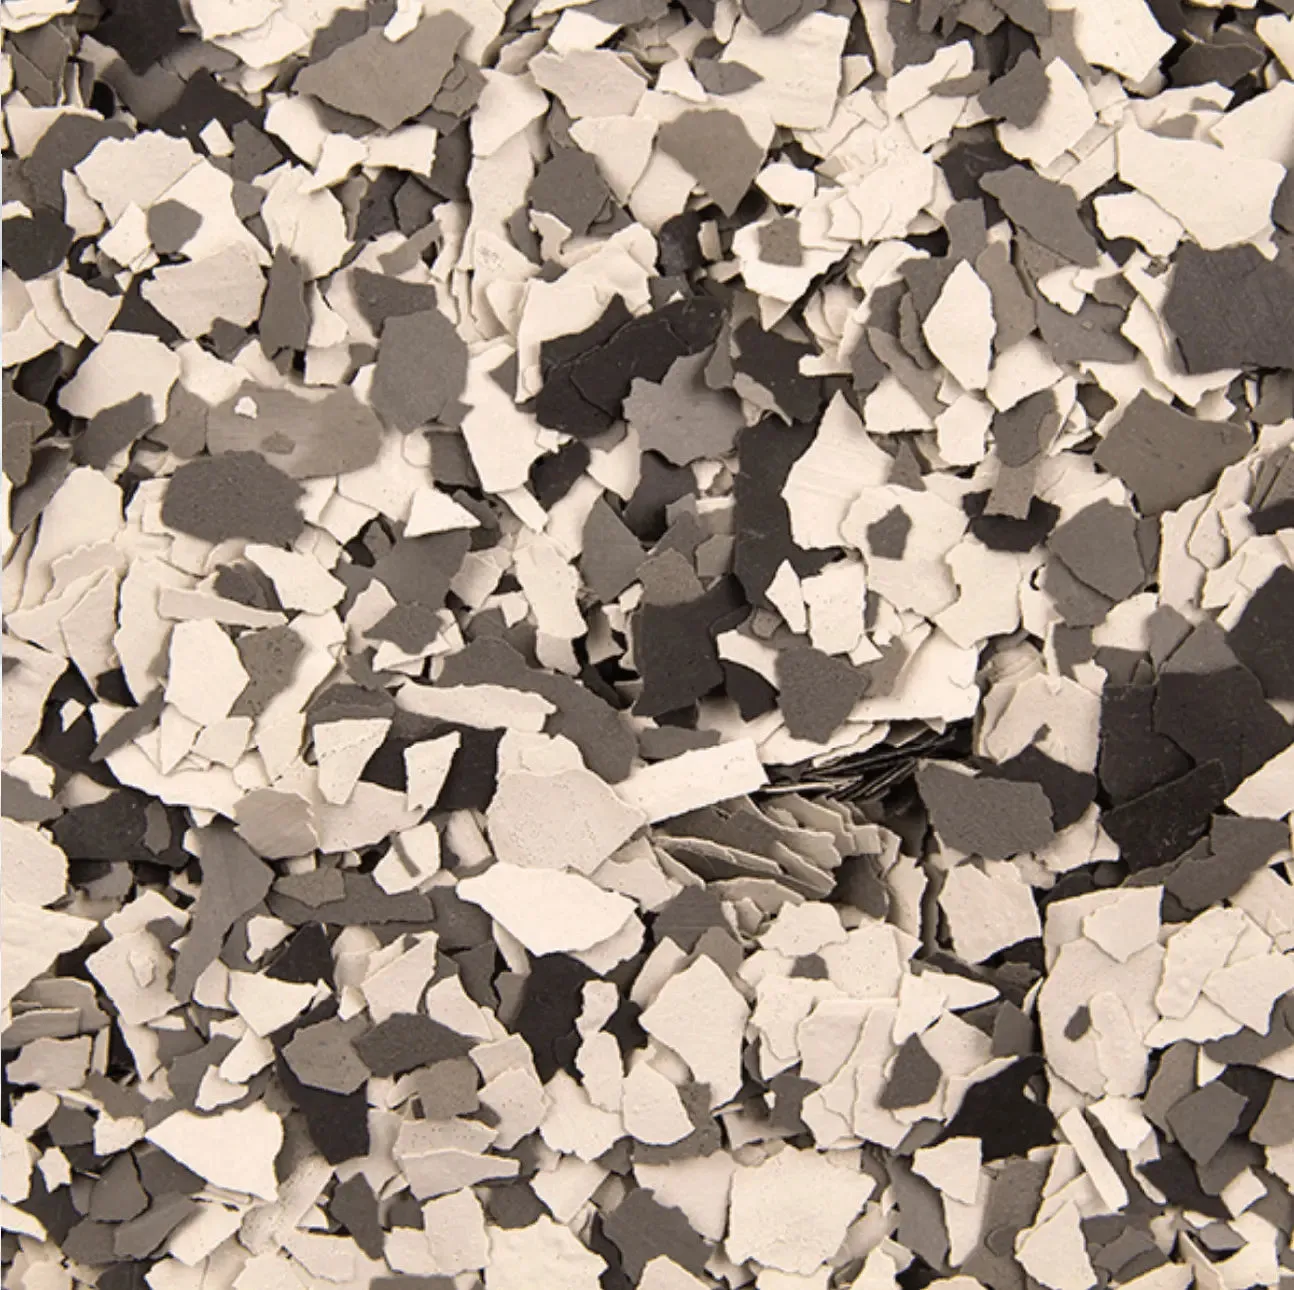
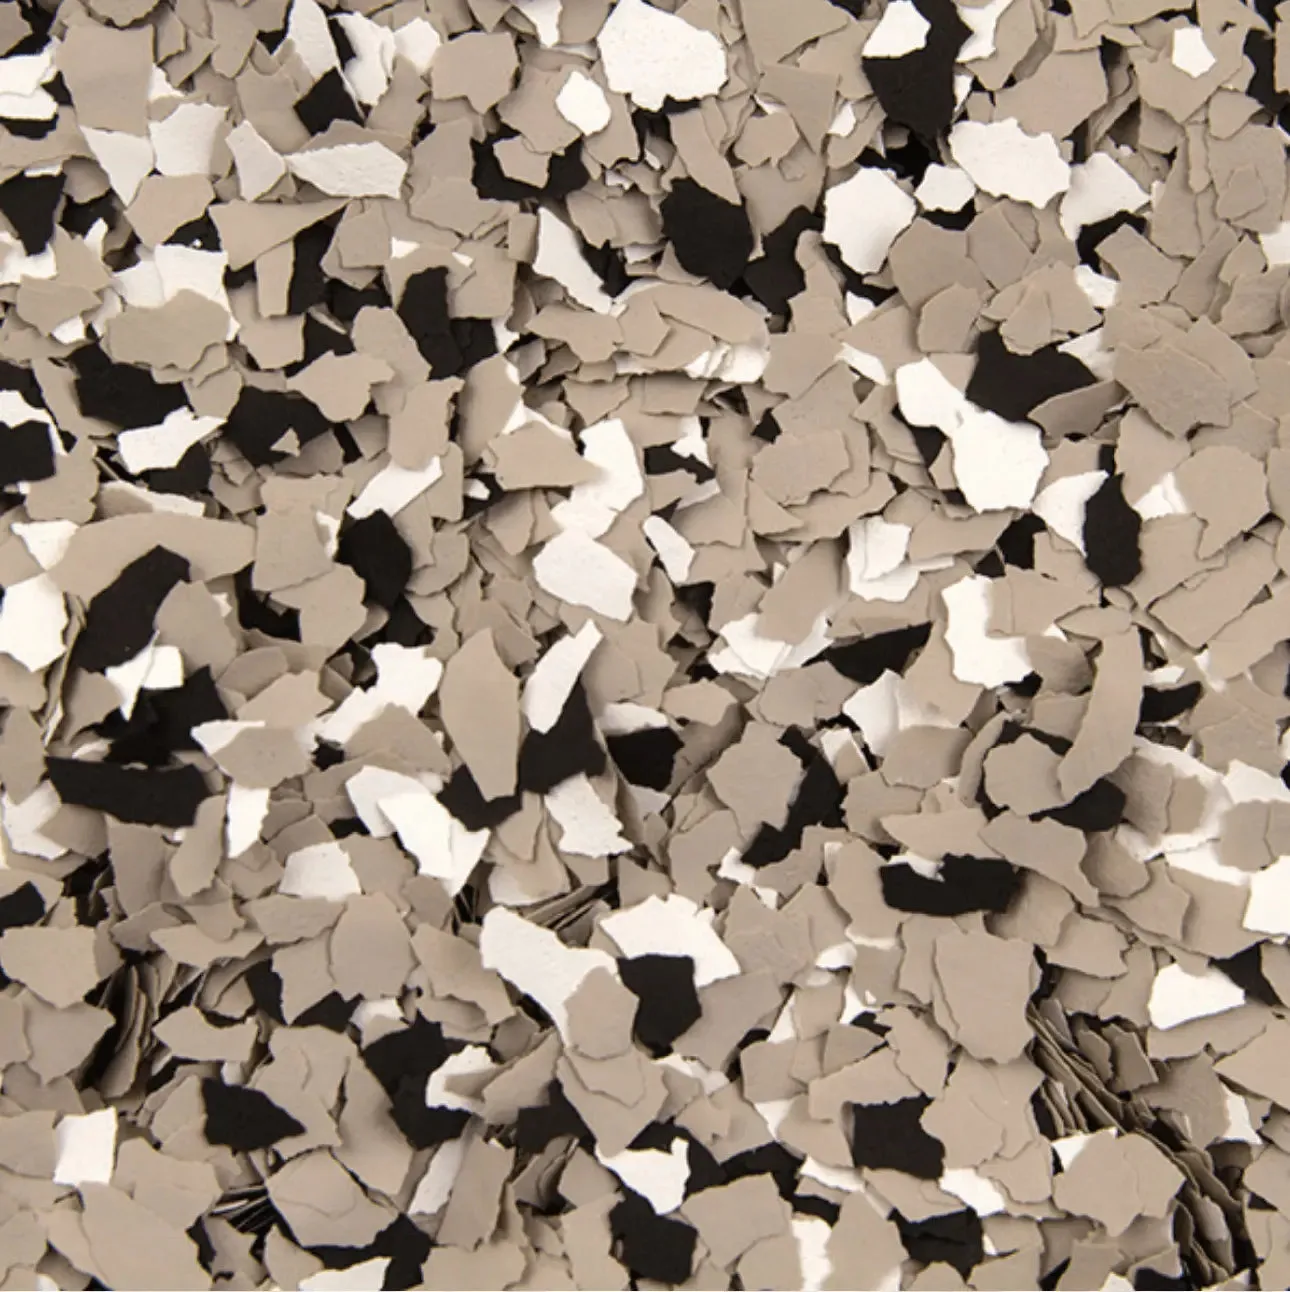
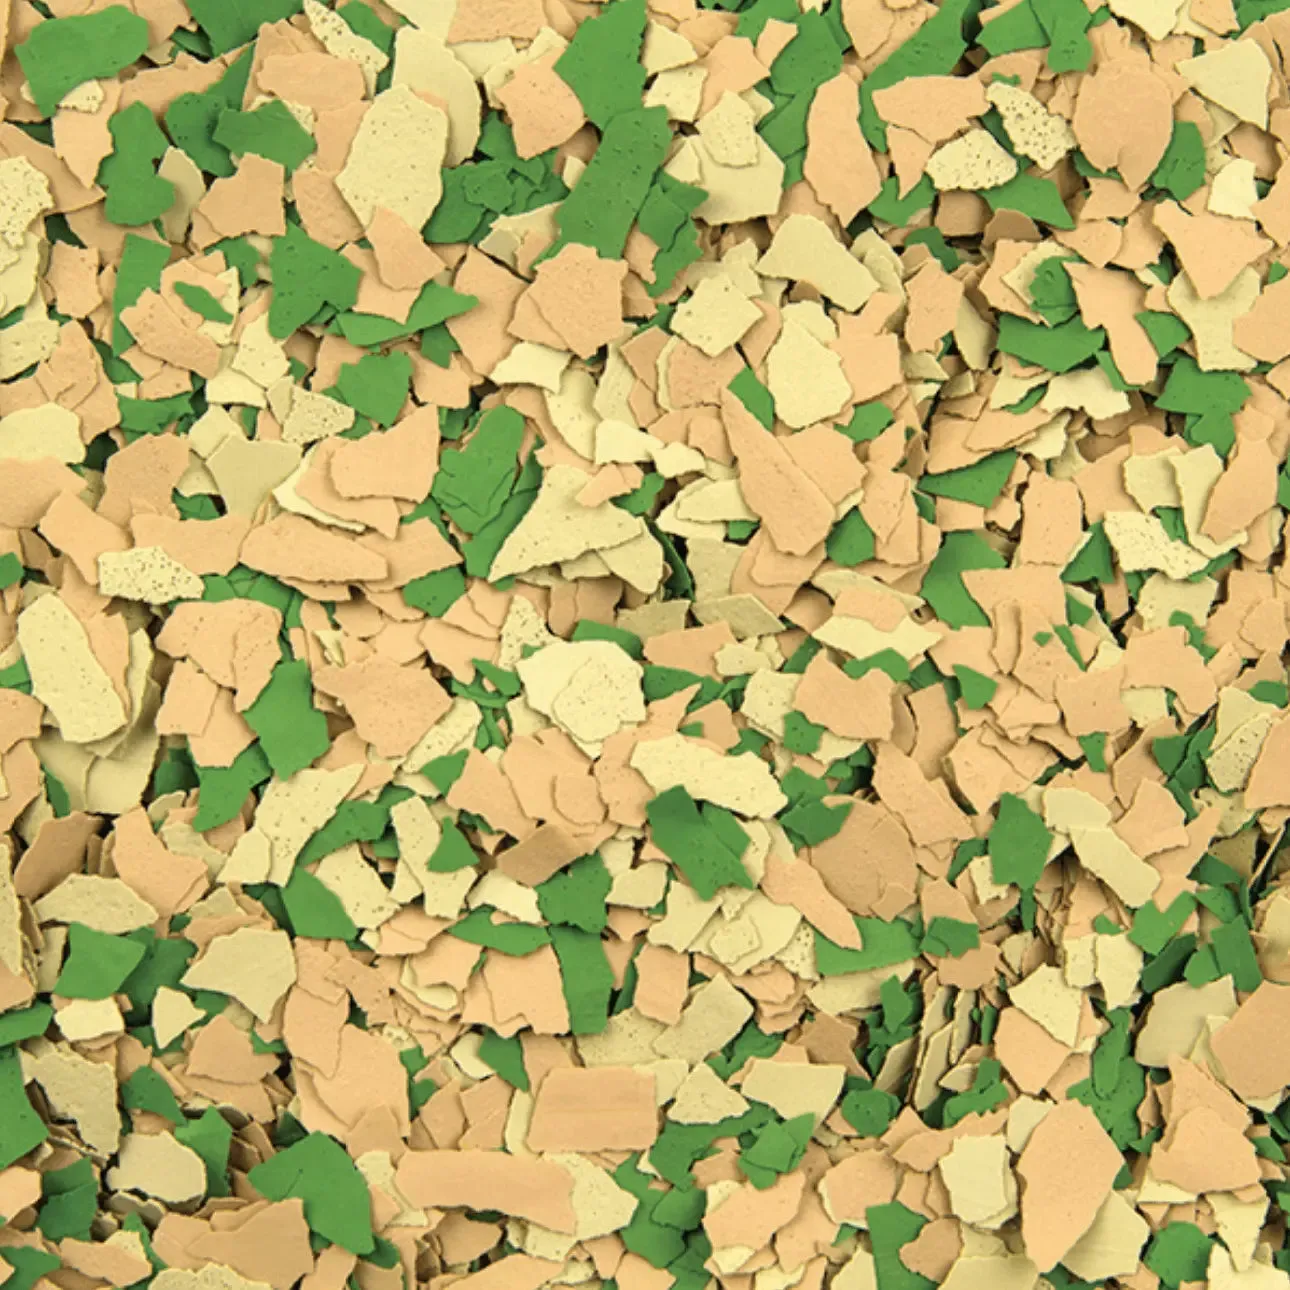
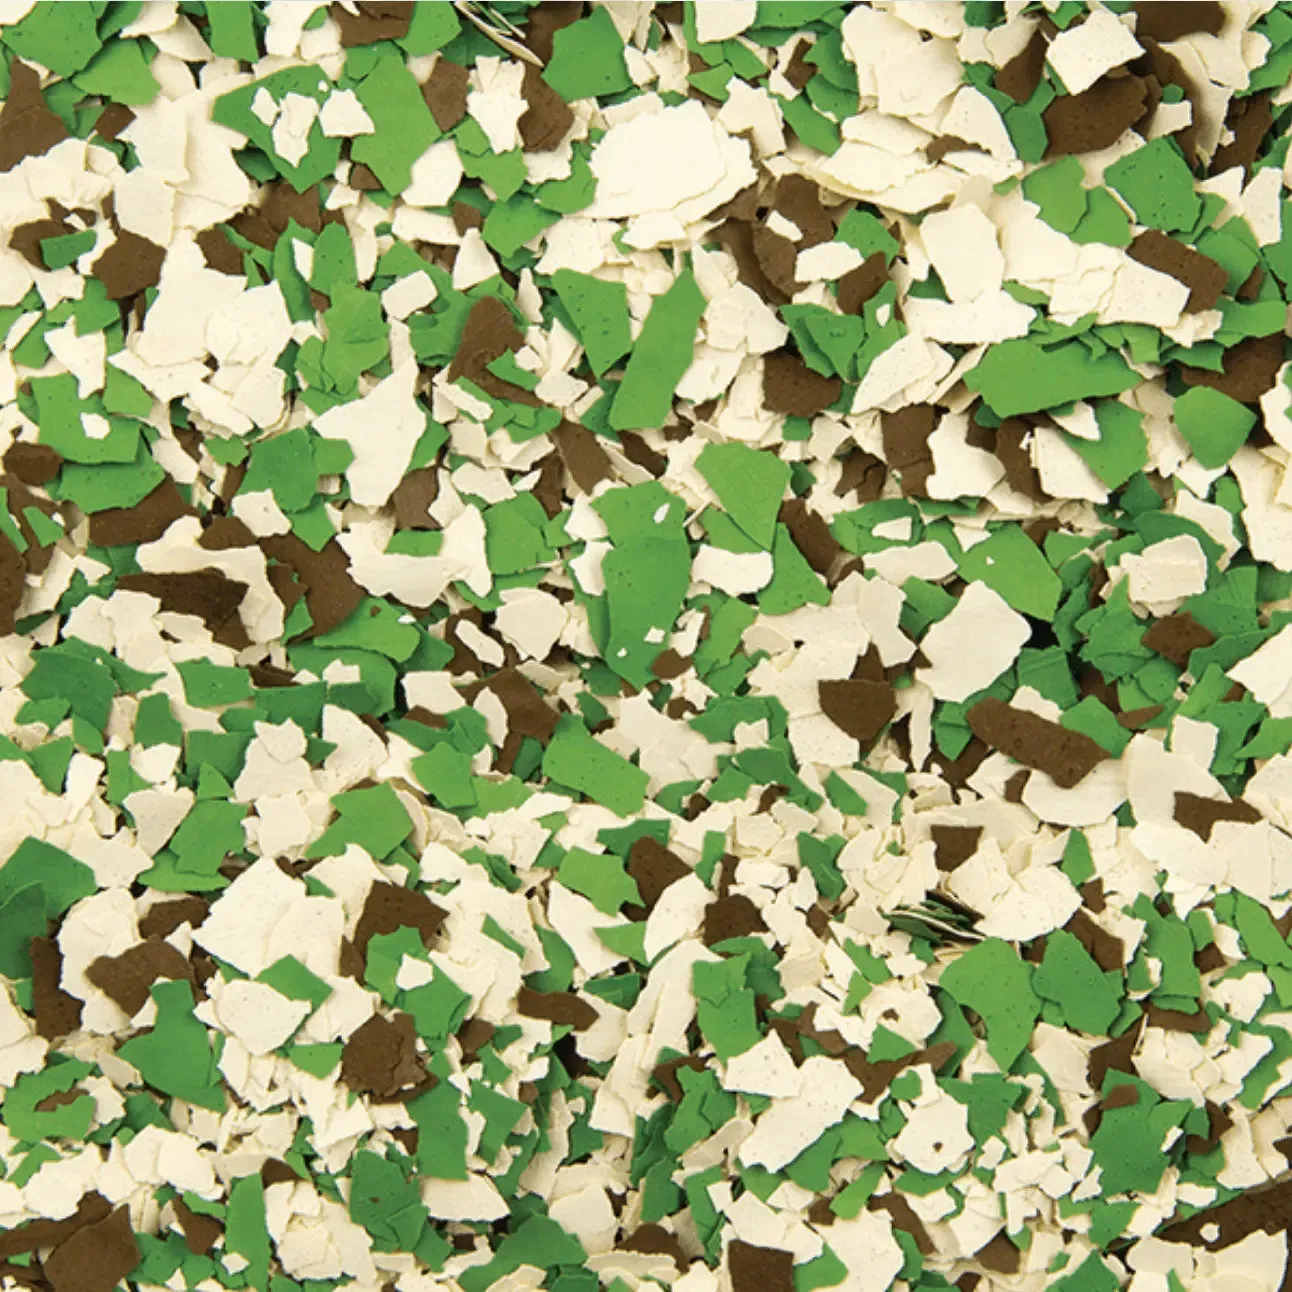
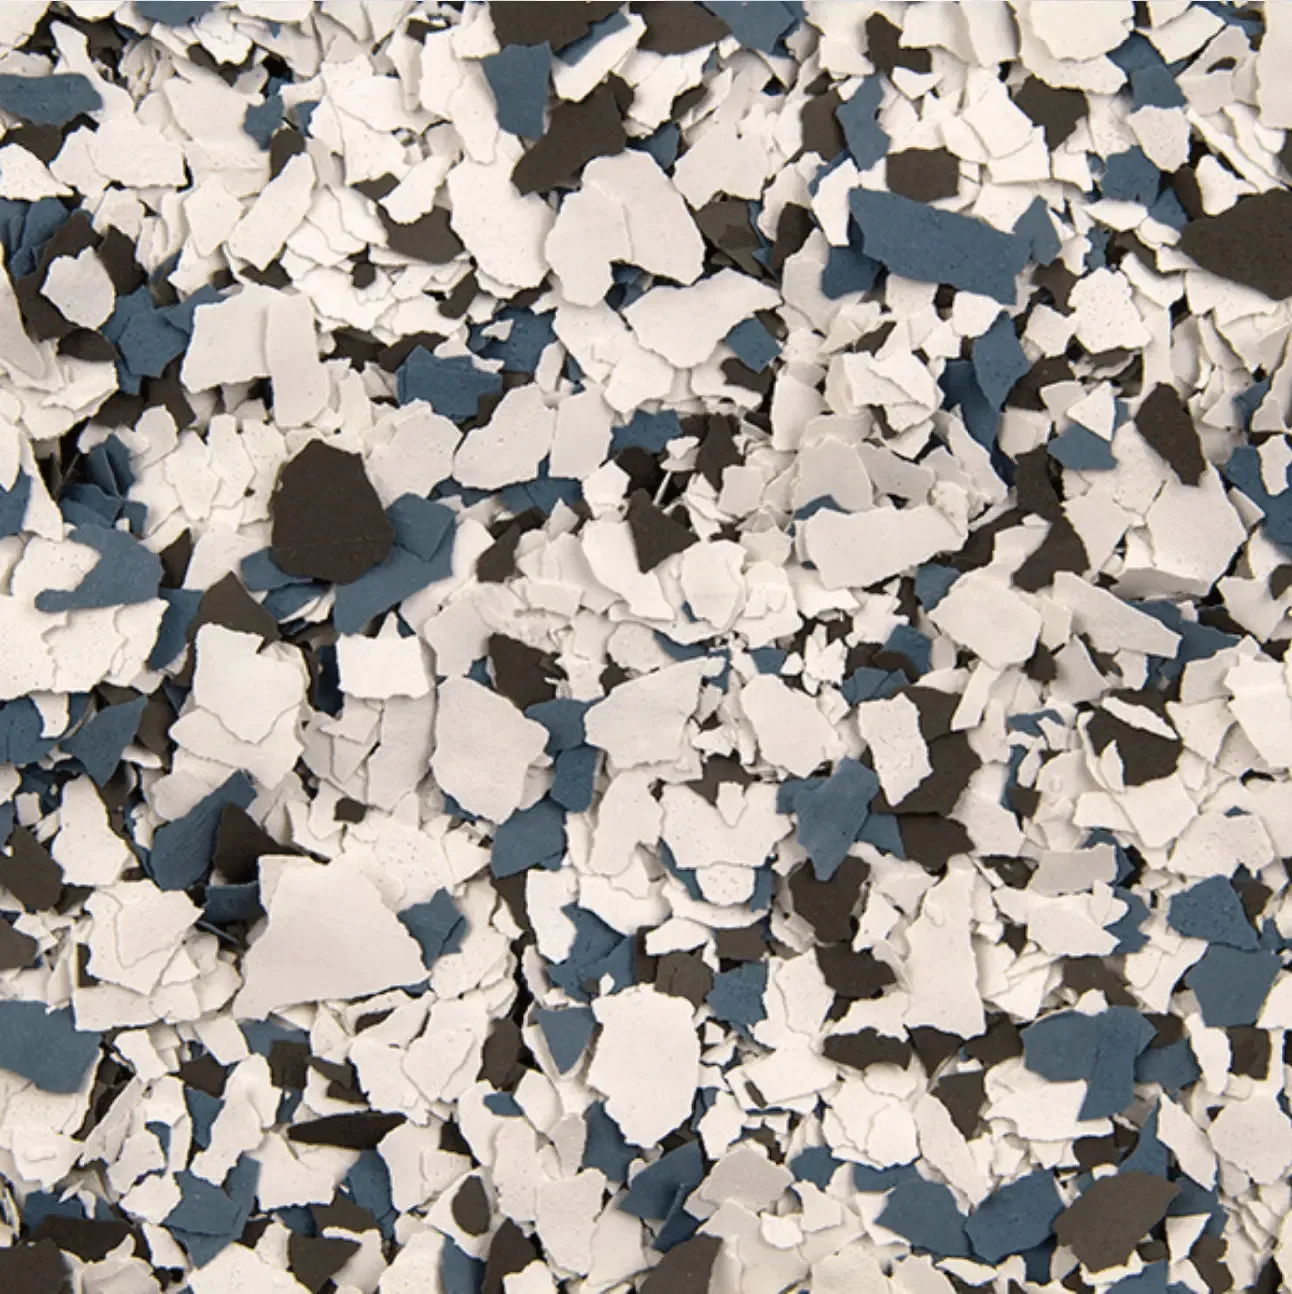
Mix Epoxy resin (according to product instructions). Mix only an amount of material that can be spread in 30 minutes. Once mixed, immediately begin pouring the material onto the floor in long, usable ribbons. Do not let mixed material sit in the mixing container longer than 5 minutes or it may begin to gel and need to be thrown out. Using a notched squeegee spread the material evenly until proper thickness. Then, backroll with proper roller until all is even. Allow material to sit for 10 minutes. After material is backrolled you will begin broadcasting the flakes. The best way to accomplish this is to place several pounds of the flakes into a clean bucket and take small handfuls of the chips and toss them in the air onto the tacky floor. It is important to throw them upward to get a good spread and faster coverage. Partial Broadcast - Your goal is get a good, even spread onto the floor at the coverage that looks good to you. Do NOT toss them down at the floor because you will end up with many heavy spots. Full Broadcast - You follow the same procedure but you use larger handfuls of chips. You can do this quickly and “make a mess”. Keep in mind it is normal to had a large amount of loose chips that are just loose on the floor. As you walk around, you are looking to cover any “shiny” spots on the floor. This is visible resin and should be covered.
Step 4
The floor will be ready for the protective topcoat once you remove any chips that are protruding irregularly. This is easily done with a floor scraper or a large drywall knife threaded onto the end of a pole. Just slide the blade over the floor knocking down the suspect chips that are sticking into the air. Then vacuum the floor to remove the pieces. TIP: For full broadcast, if when you are finished scraping and cleaning, you find empty areas that are not acceptable you can mix a small batch of TI Epoxy HP, brush it on in that area, and broadcast some flake over the area again. However, that will take a while to cure so that you can apply the Top Coat and be done... Many applicators will instead use the Top Coat PolyKoat 85, which will dries much faster, @3-4 hours, and can then be scraped, vacuumed, and then continue on with the final step 5, topcoat.


